Bedroom Before & After

 Finally I'm able to share our first completed room with you all. You may or may not know, that my boyfriend and I bought our first property at the end of summer. Whilst we had ideas in mind of how we'd like to decorate some of the rooms, we weren't anticipating starting the work quite so soon. But unfortunately the day after we moved in, the flat below us spotted a pretty bad leak coming from our bathroom into their kitchen. Not good!After a rogue plumber broke a few tiles, trying and failing, to find the leak, we needed a new bathroom PRONTO! But that's the bathroom, not the bedroom, I hear you cry. Well, as we've quickly come to realise, one thing always seems to turn into another. As we booked in a plasterer to re-plaster the bathroom, we thought it best we get him in to do the master bedroom at the same time too. This meant, ripping up the old carpet, ripping out the dilapidated built in wardrobes and blocking up a (weird) cupboard in the corner of the room. (We instead, knocked through from the hallway to create one giant cupboard there. You know, a place where you would expect to find a storage cupboard).Anyway, enough of the all the odd little things we kept finding in our bedroom (I could go forever), and onto the renovation itself.
 As you can see from the photos above, this room didn't need an awful lot of work. However, little work is still work, and it still brought surprises along the way. But I'm pleased to say it is finally finished and I'm so excited to share it with you.
- IKEA wardrobes
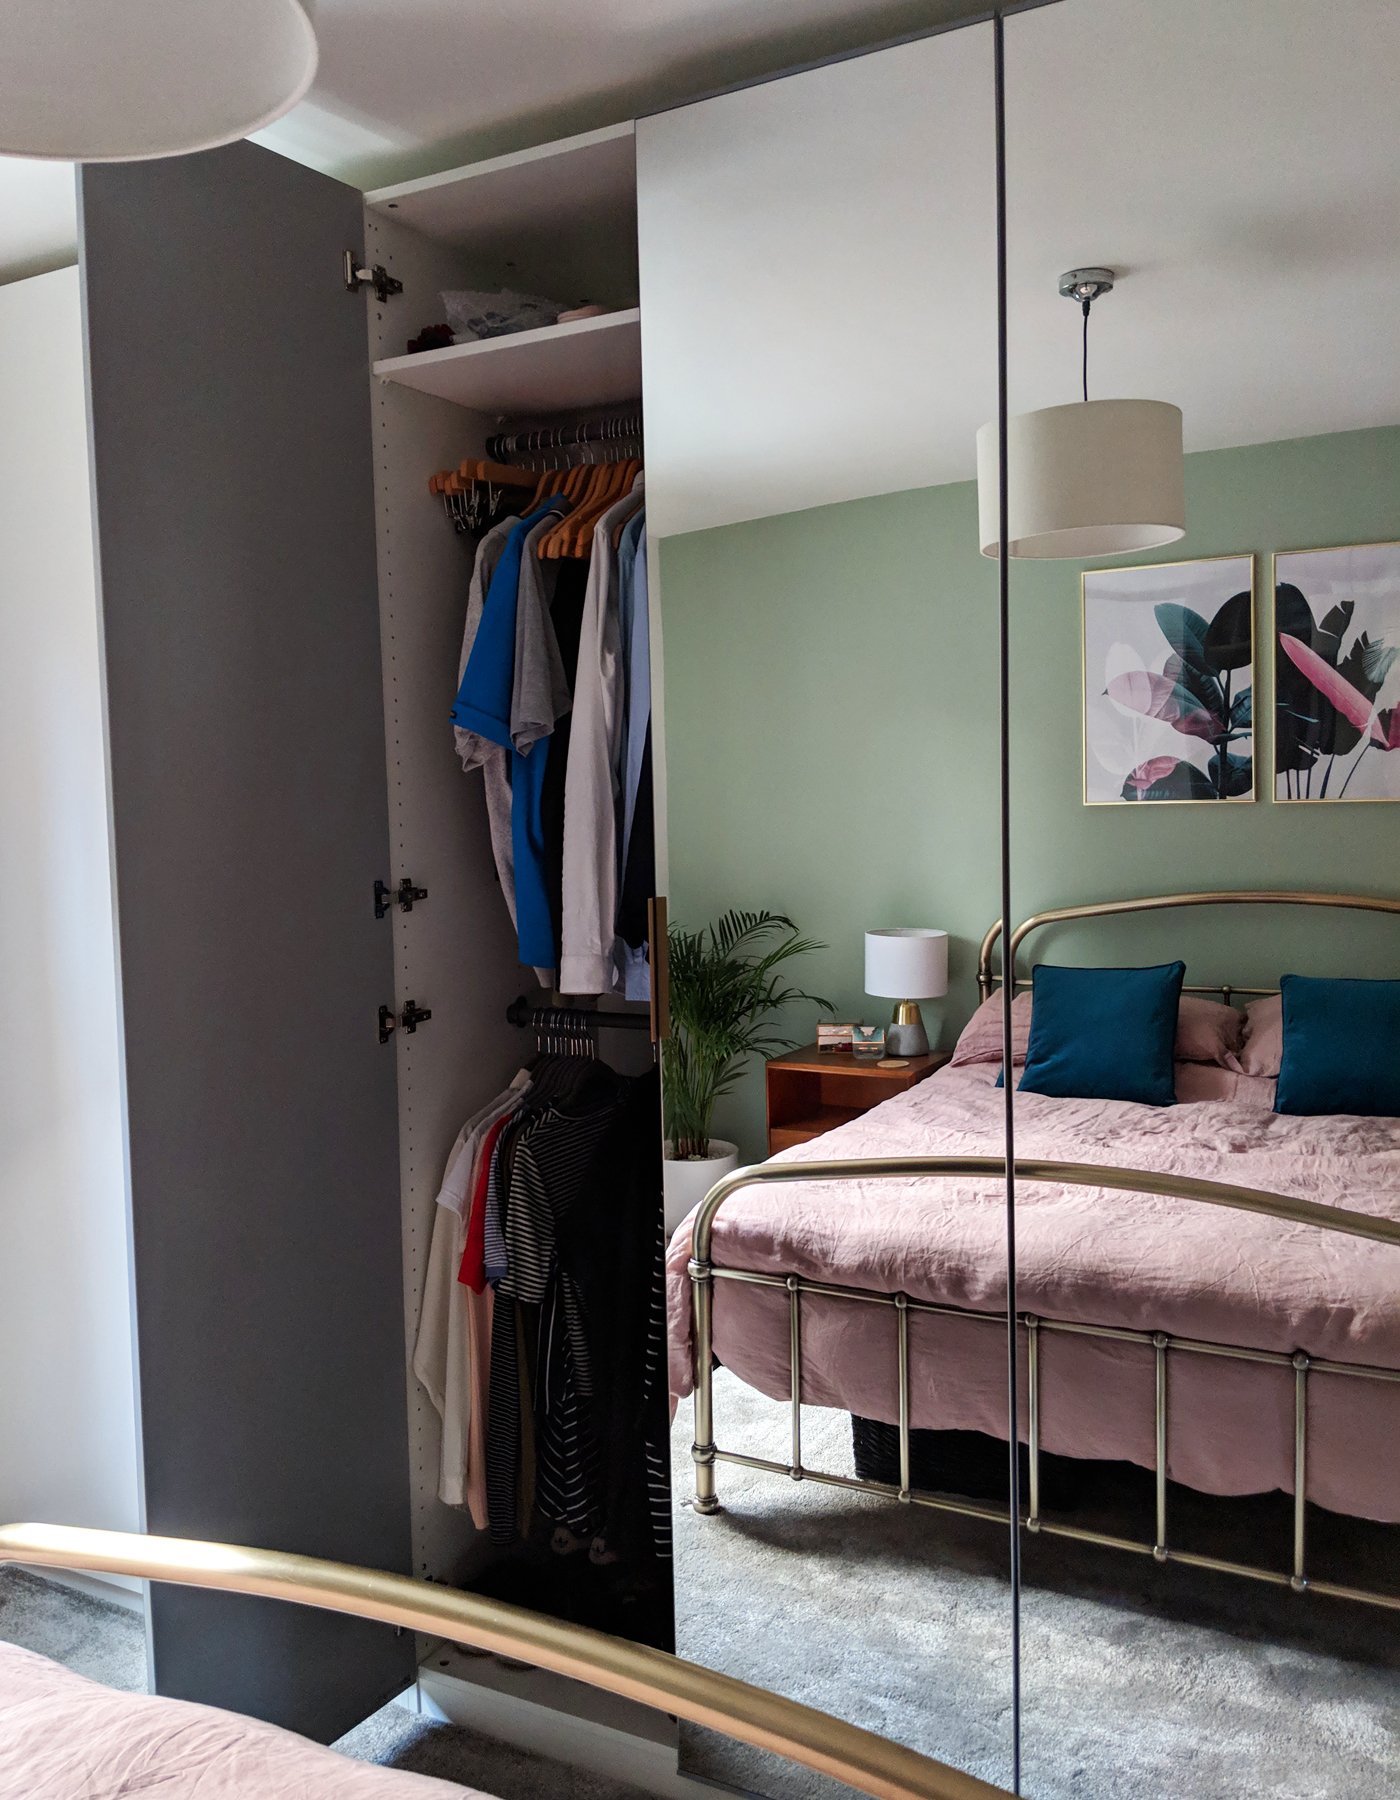
The previous owner had a series of small square cupboards running along the ceiling on this side of the room. They were so high that I couldn't reach them, and such an awkward shape that we couldn't fit anything inside. Those quickly got ripped out to make way for new wardrobes.We considered built in wardrobes, but were quickly put off the idea when we realised how much they would cost! This is our first home, not our forever home, and so although we want it to look good, we need to be conscious of costs.Instead, we opted for an IKEA Pax wardrobe, that we designed ourself. We wanted to fill the entire wall, with little gaps either end, so that it looked like a built in wardrobe and used the maximum space provided. Our design consists of 7 doors - 3 mirrored doors in the middle, with 2 white wooden doors either side. Inside, we have 4 compartments. 2 of which have short hanging, drawers and a shoe rack, so that Stew and I essentially have a wardrobe each. The middle section is double height hanging, which we share. And finally, to the far right, we have 1 smaller compartment for long hanging (wedding guest outfits mainly).We chose to have a number of mirrored doors, as our bedroom is quite dark, and we wanted the mirrors to help reflect the light and brighten the room.Due the sheer size of it, it had to be built in the upright position and attached to the wall behind to stop it from leaning forwards. So we used TaskRabbit and paid two local men to put them together for us. It cost around £140 and was the best money we've ever spent! They arrived promptly at 8am and took less than 4 hours to put them together, including all of the internal accessories. They needed no instructions and cleaned up after themselves. We'd highly recommend!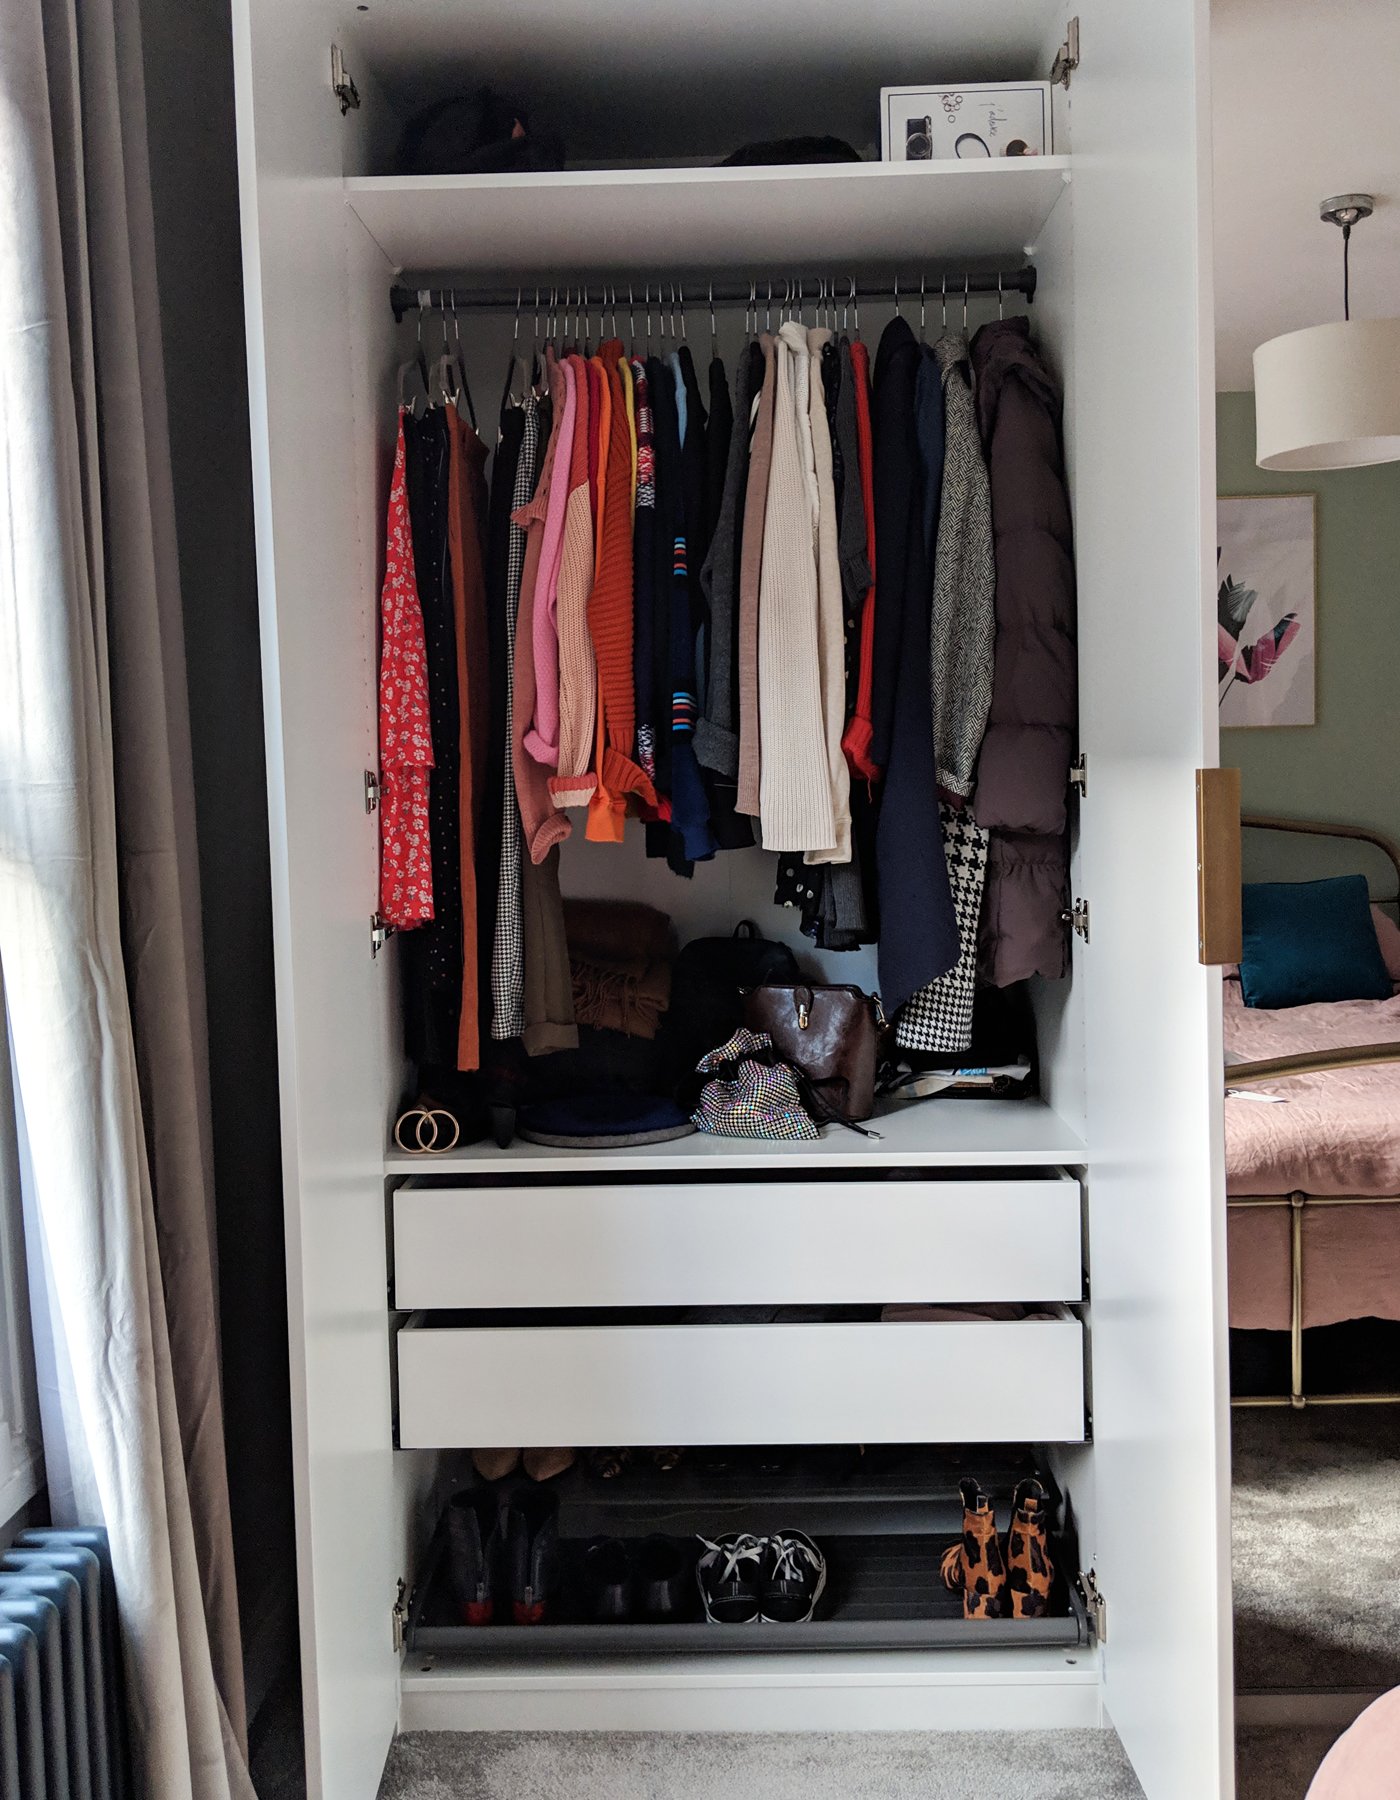
- Colour scheme
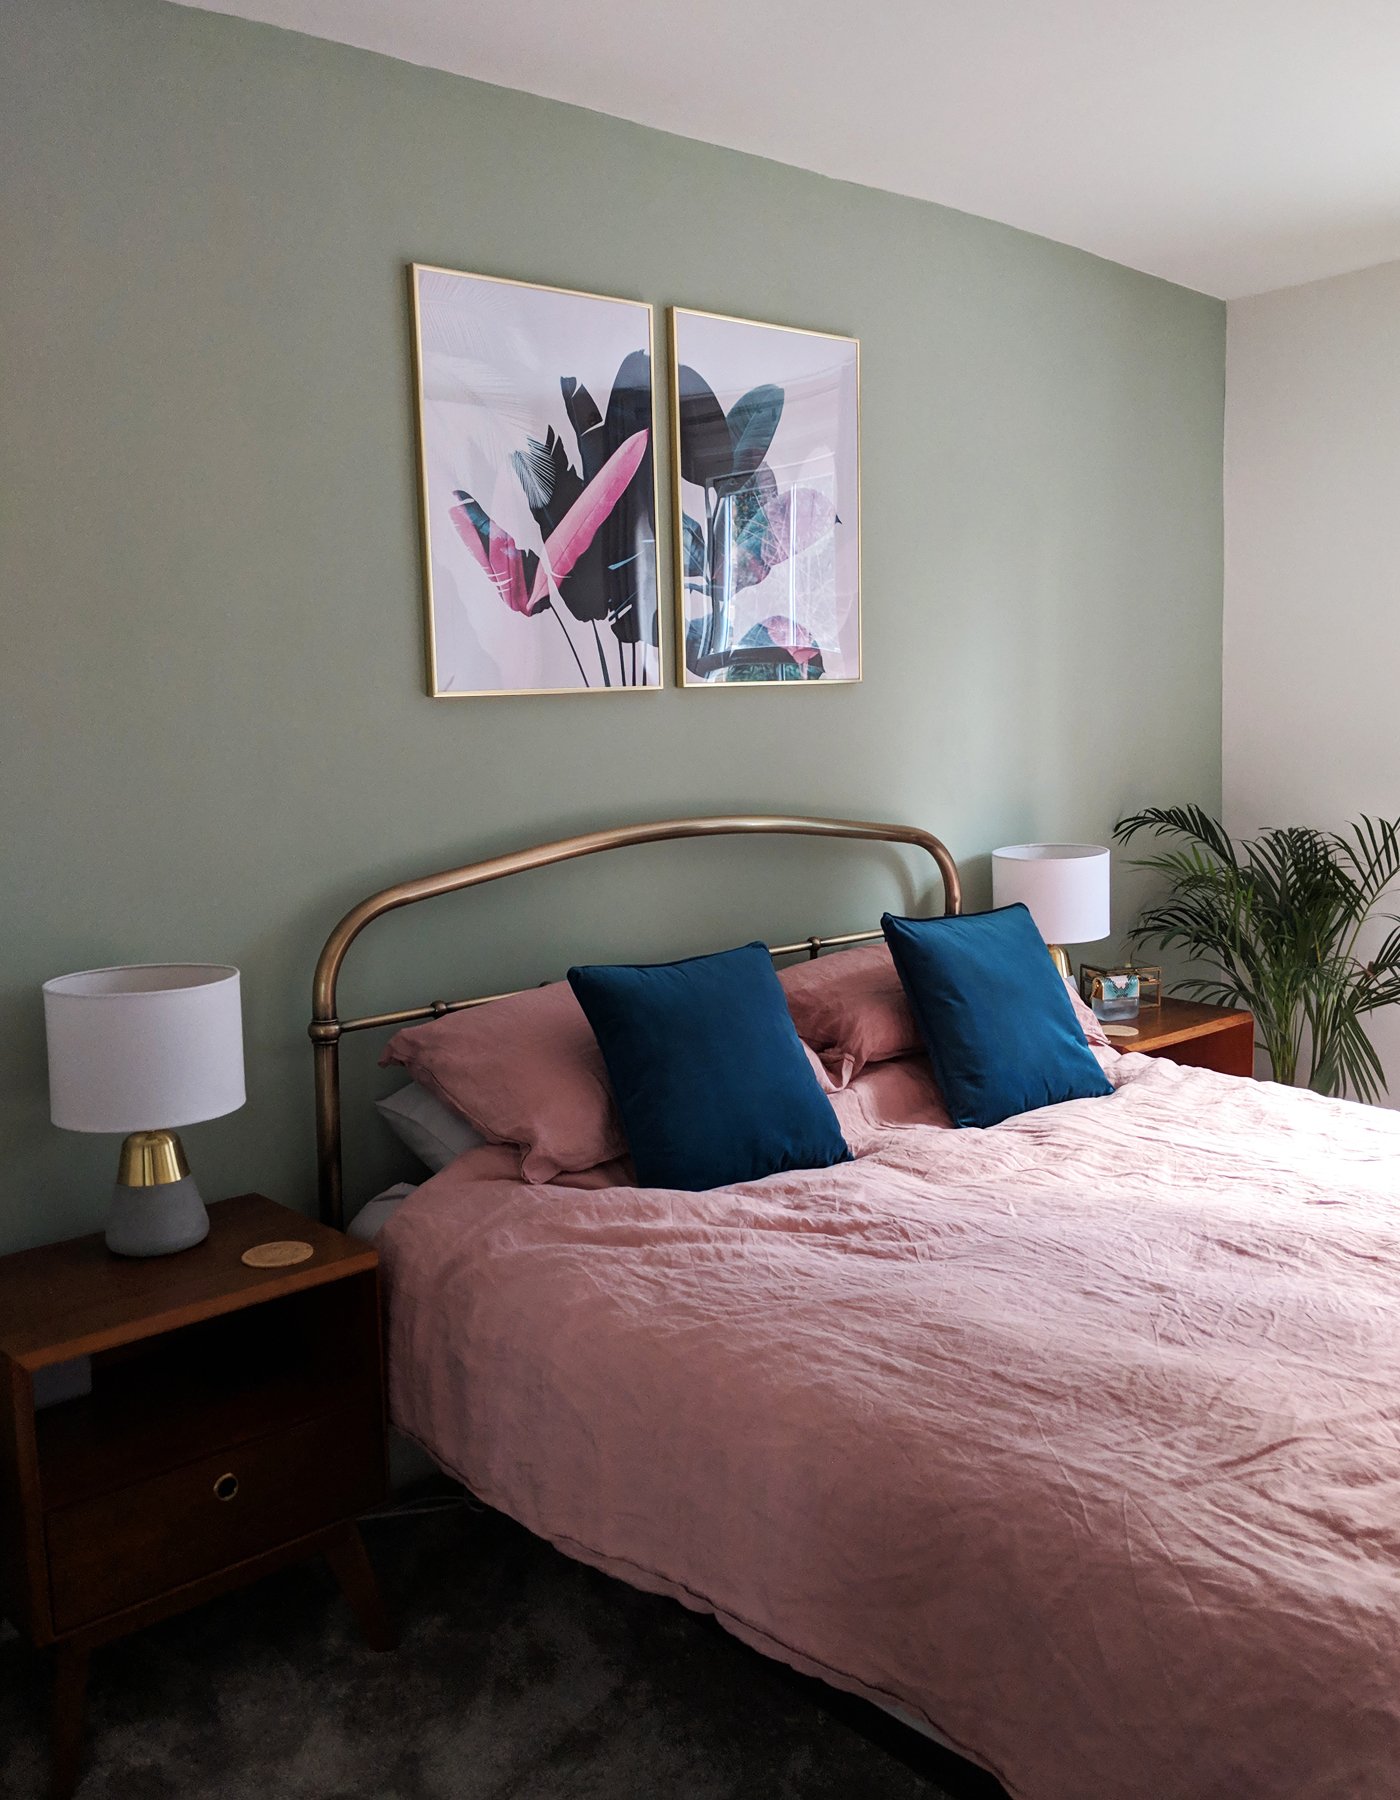
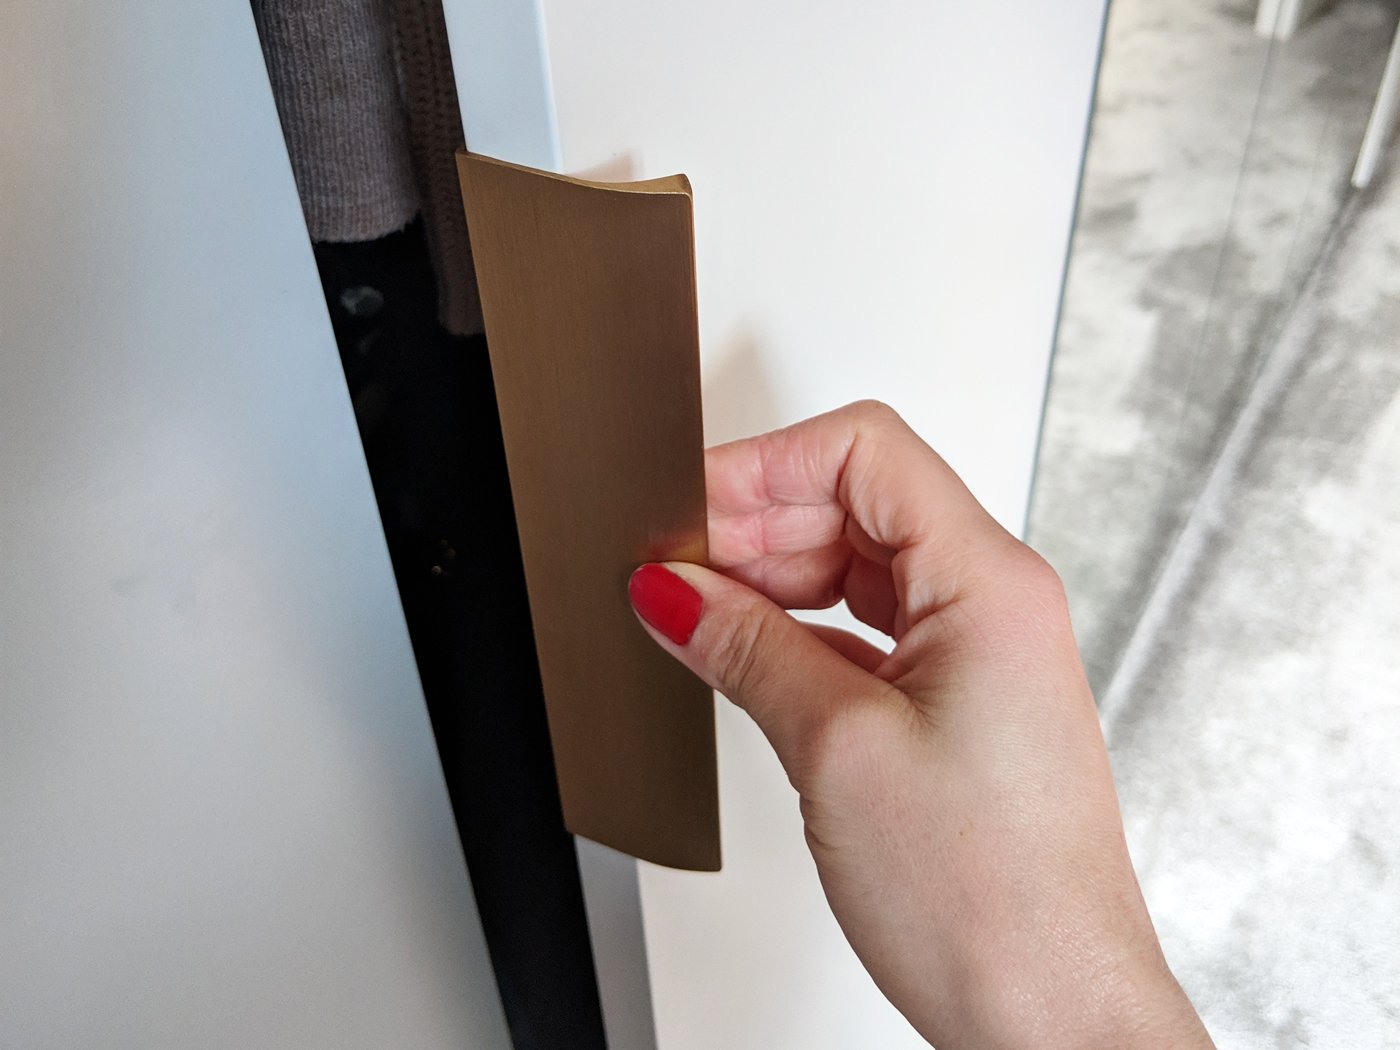
Choosing a colour scheme can be hard, especially when you've always lived in rented accommodation and have never had the opportunity to decorate. I used Instagram and Pinterest for inspiration, and soon decided that I wanted at least one sage coloured wall. I find the colour very warm and calming. As our bedroom is in the back of the building, it can be quite dark, so we decided to just paint one wall sage, so as not darken it further.I chose pink linen bedding and Stew found our concrete bedside lamps. I wasn't sure on them at first, but I absolutely love them now. We had the prints above the bed in our old flat (from Desenio), and the pink and green colourings work perfectly with them.As our bed is brass we continued with this theme, with all details (photo frames, door handles, sockets etc) being either brass or gold. The wardrobe handles aren't from IKEA, we had to find those separately, but I love how well they match with everything else.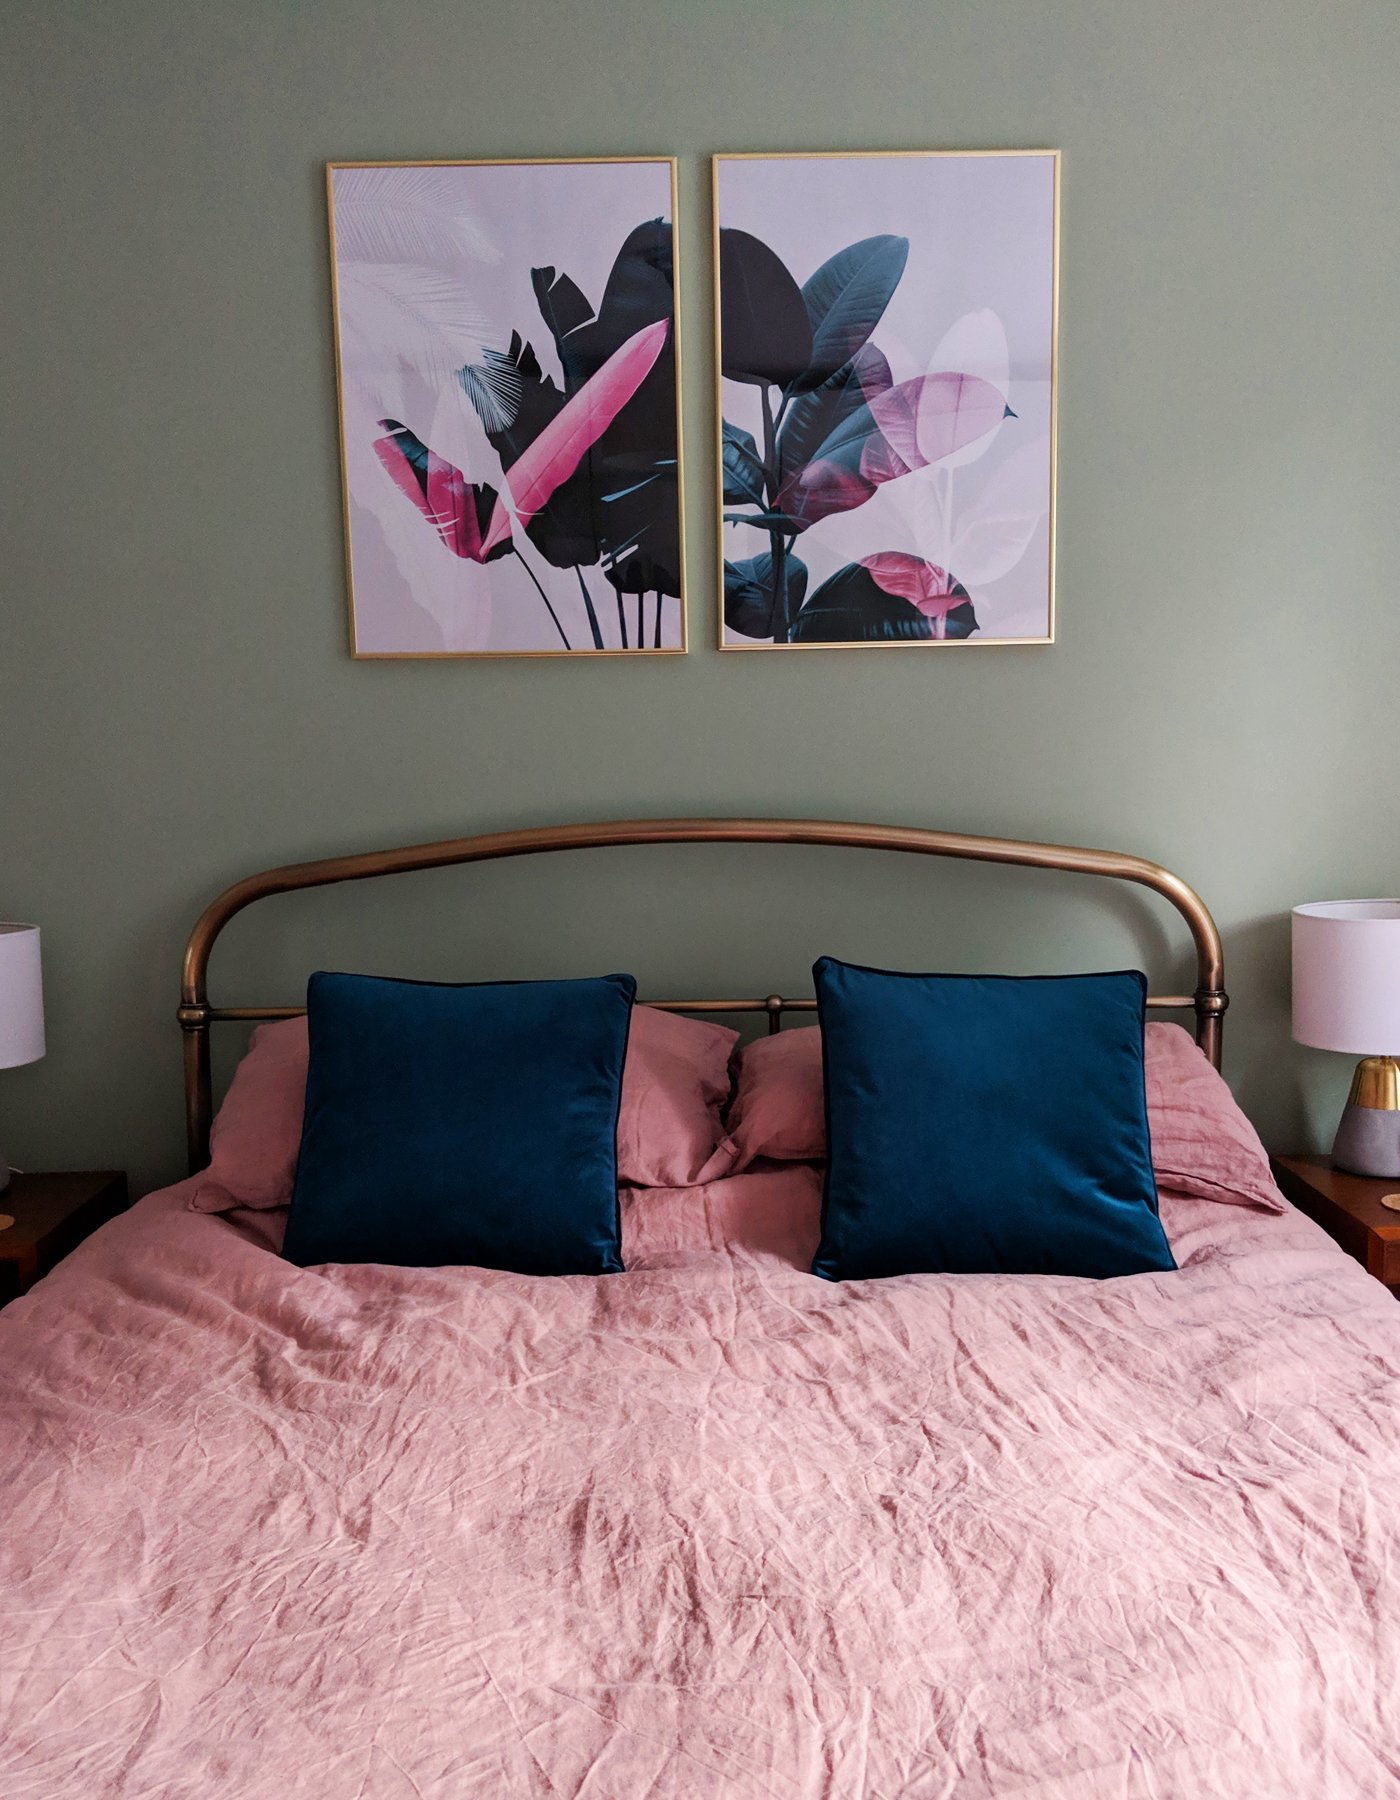

- New radiators
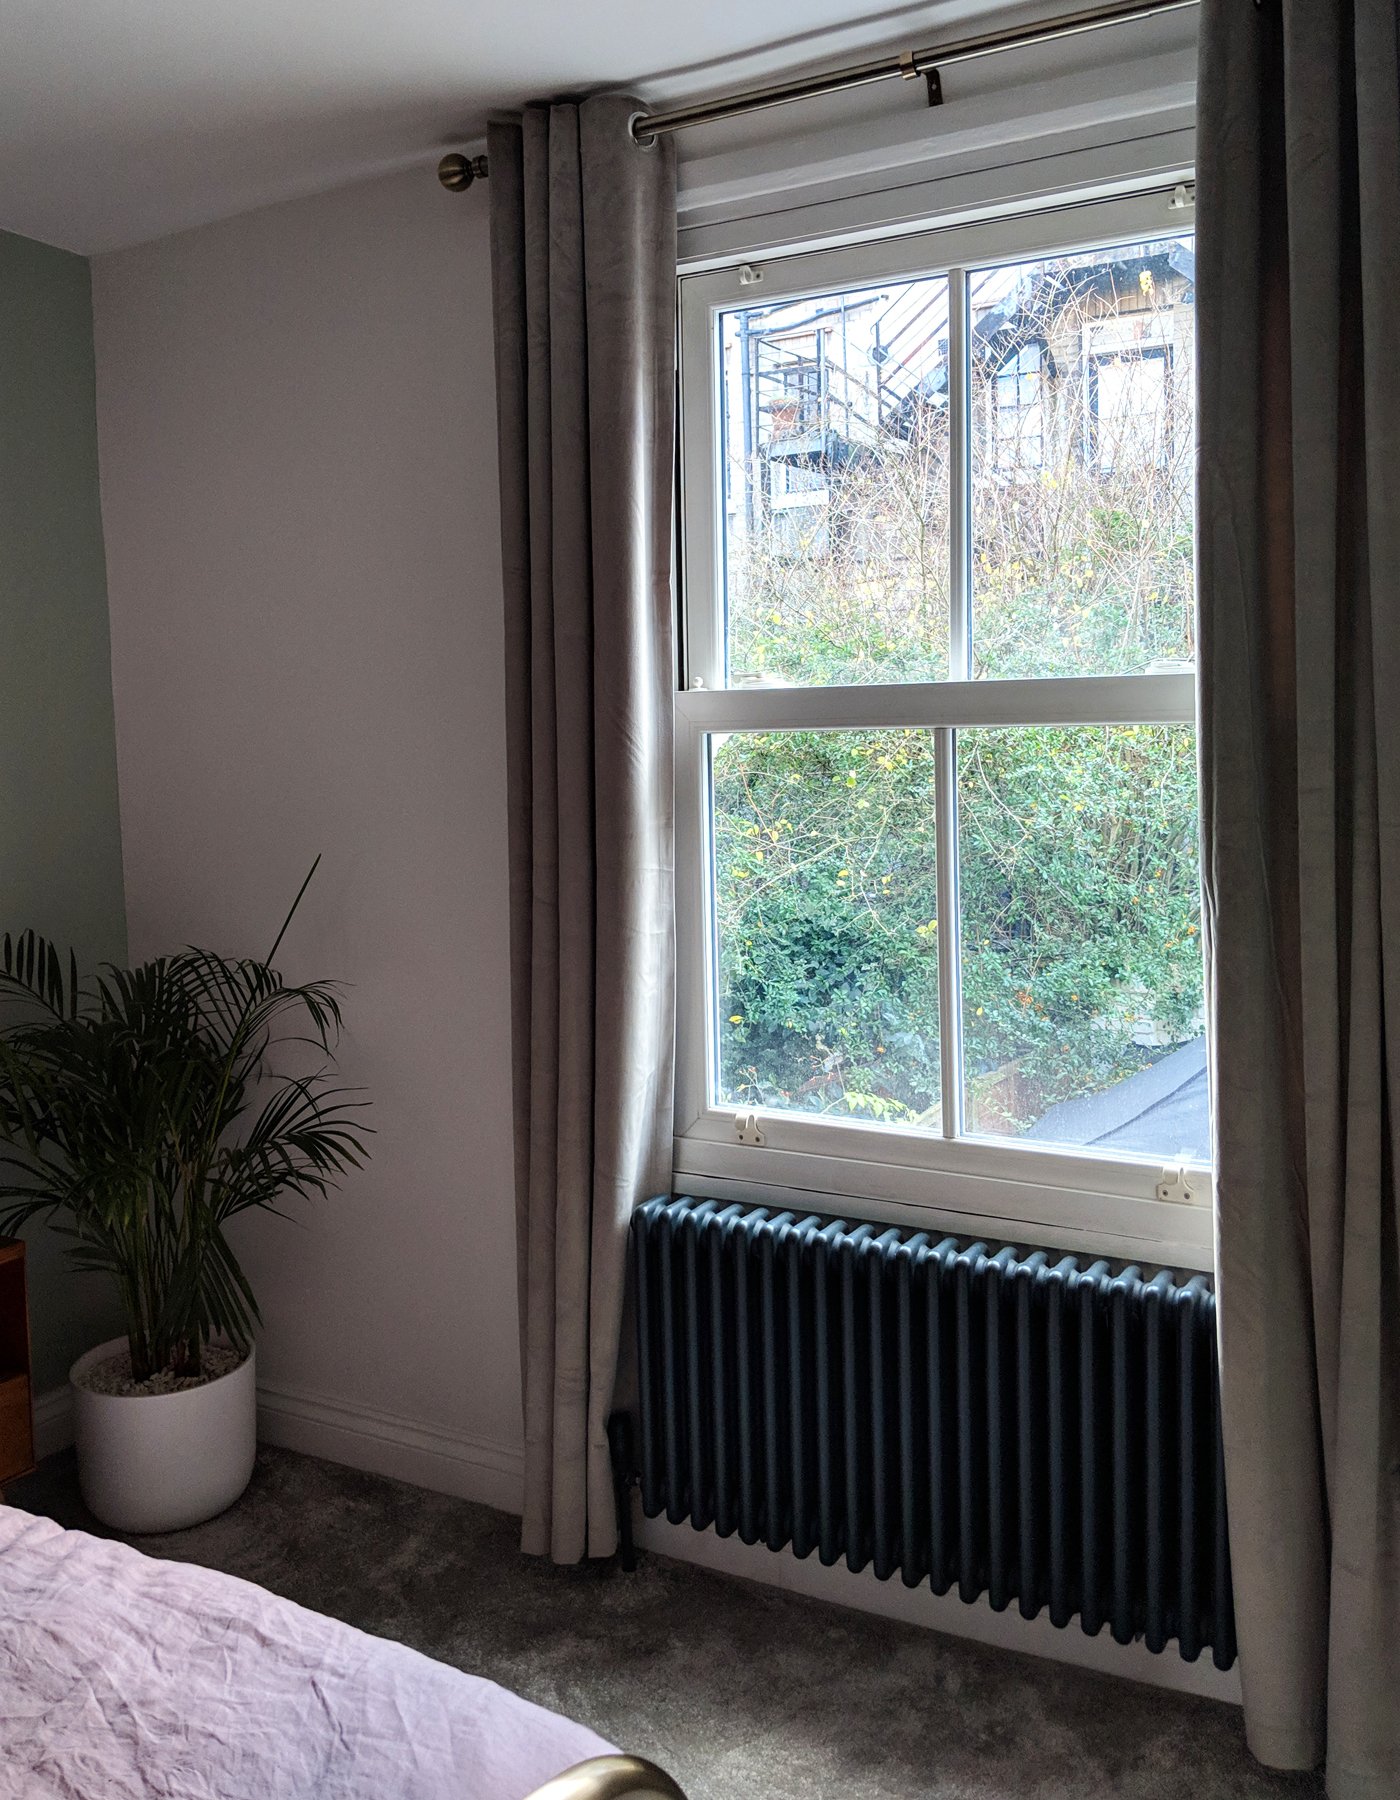
The one thing I hated most about the bedroom before, was the horrible radiator underneath the window. It was super old, very dirty and generally very ugly. Although our bedroom is in the newer part of the property, the main building was built over 100 years ago, so we wanted to keep touches of the turn of the century running throughout. Including new column radiators.This proved to be one of the hardest parts to install. Luckily we have a friend who did our bathroom, and offered to plumb in our new radiator. However, trying to access the pipes under the floorboards was harder than we thought. After a couple of tries, we eventually located the pipes and managed to move them to fit the new radiator. And all the hard work definitely paid off.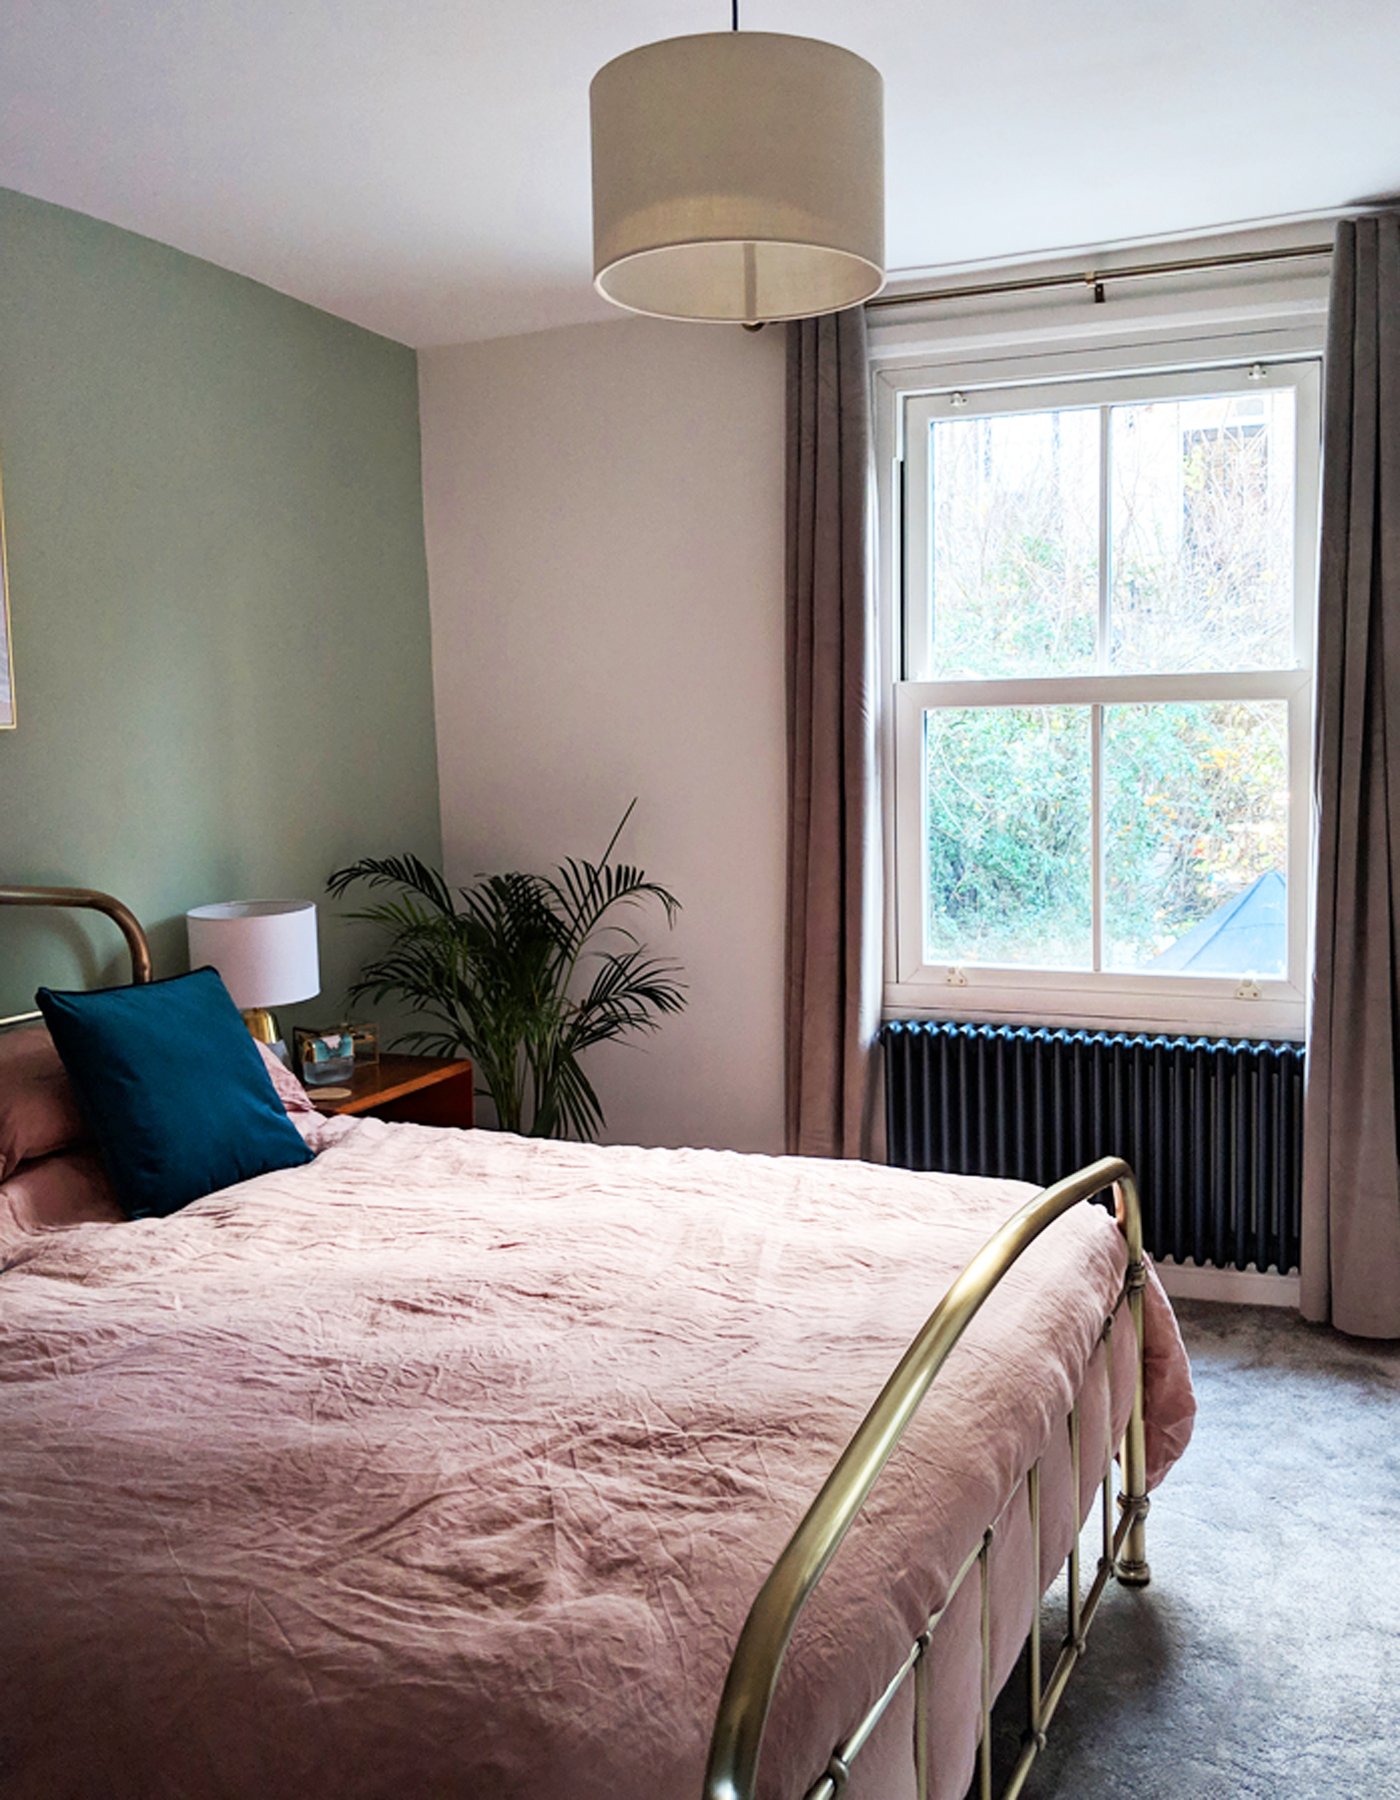
- Carpet VS floorboards
Unfortunately we didn't have a choice in the matter. As I mentioned, our bedroom sits in the new part of the property, built in the late 60s. The original floorboards aren't in good enough condition to be able to use as flooring, and would've cost too much money and time to restore. On top of the floorboards lay large pieces of plasterboard (which made it so tricky installing the radiator), and a very thin, old carpet used to lay on top of that. We invested in the most expensive underlay to help minimise sound travel between flats, and with a thick carpet, we've made the room much warmer.I've never been a fan of carpet, but I have to say it feels so luxurious, taking off our slippers and walking around on it. It's ridiculously soft and makes the room feel a lot more cosy. We found this light grey carpet in Tapi. But one thing I have to say is that it is SO hard to choose carpet. Firstly the price quickly escalates, even when you think you have a small room. Secondly, although you are able to view square metre samples, it's impossible to know for sure what the carpet will look like when it's down. Ours looked darker than what we originally thought, and we unsure of the colour at first. But it's soon grown on us, and now we're both so happy with the finish.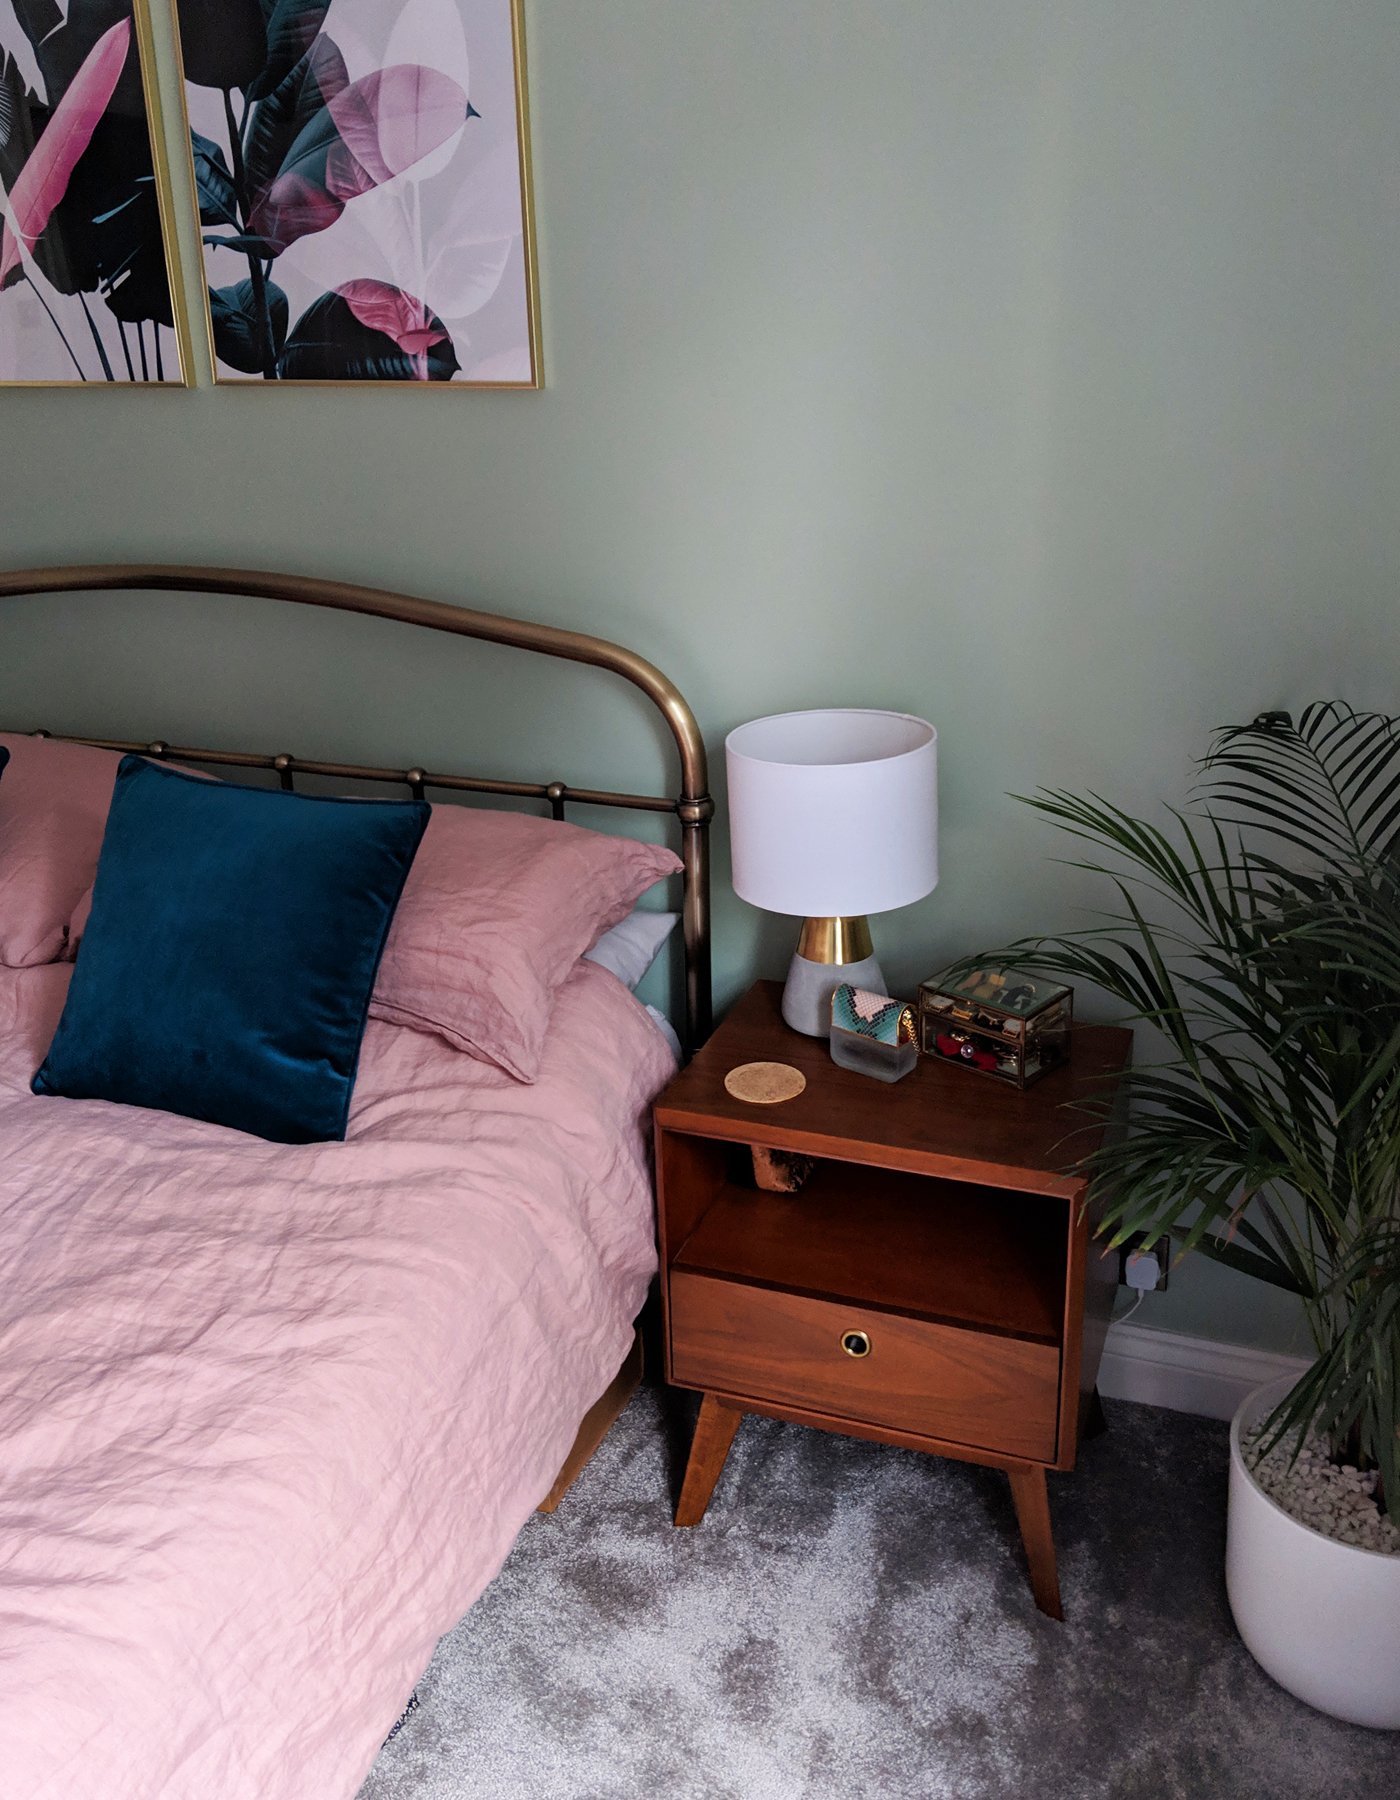 I hope you've enjoyed our first (of many) room makeovers. I've tried to include insights that we discovered along the way, and lessons we've learned. Please see below for a full list of where we bought everything -