Nursery Before & After
Considering our son is now 1 years old, this post has been a long time coming. That said, we've only now got to a point where I'm really happy with the decor of our nursery, and so it feels the perfect time to share it.
We kept the gender of our baby a surprise, so it meant that when decorating we had to keep things pretty neutral. I'm not one for blue/pink anyway, but we stuck to white and grey and kept furniture/accessories pretty minimal. But over the course of the past year, as our son's personality has shone through, I've wanted to update his room to reflect that.
Also, during this time we've bought books, toys and teddys, and many of our loved ones have spoiled him with bits which deserve a place in his room. So towards the end of last year I decided it was time we had a little refresh.

Adding Colour
I was very kindly gifted a pot of paint from Lick, where I chose their shade Orange 02. It's a brilliant burnt orange/terracotta colour and not happy with just re-painting, I decided to set myself the challenge of creating a scallop design border around the entire room. Not one for normally being this creative, I just sort of winged it and luckily it paid off!
How to create a scalloped edge:
Using a measuring tool of some kind and a spirit level, draw a line around the entire room. I used a metre long piece of card as a guide to mark the height of our border around the room, and then using the same piece of card and a spirit level, I made sure that the line was straight.
Using a plate, bowl or saucepan, tape off half of it, creating a semi circle.
Starting in one corner, place this on the wall making sure the tape sits flush with the line you've drawn, and draw around the semi circle. Continue along the wall until you near the next corner.
Using a piece of paper or thin card, draw your semi circle and cut it out. This will allow you to bend the semi circle around the corner.
Continue around the room. When you're ready to paint, mask off any edges and using a small brush, do the edges first. Then using a wide brush or small roller, fill in the gaps.
You will have to hand paint the semi circles, so go slowly. But don't worry if they're a little uneven, or you go over the line slightly - ours are certaintly not all perfect, but when you stand back you'll never tell and it creates a fantastic look.


Shelving/Storage
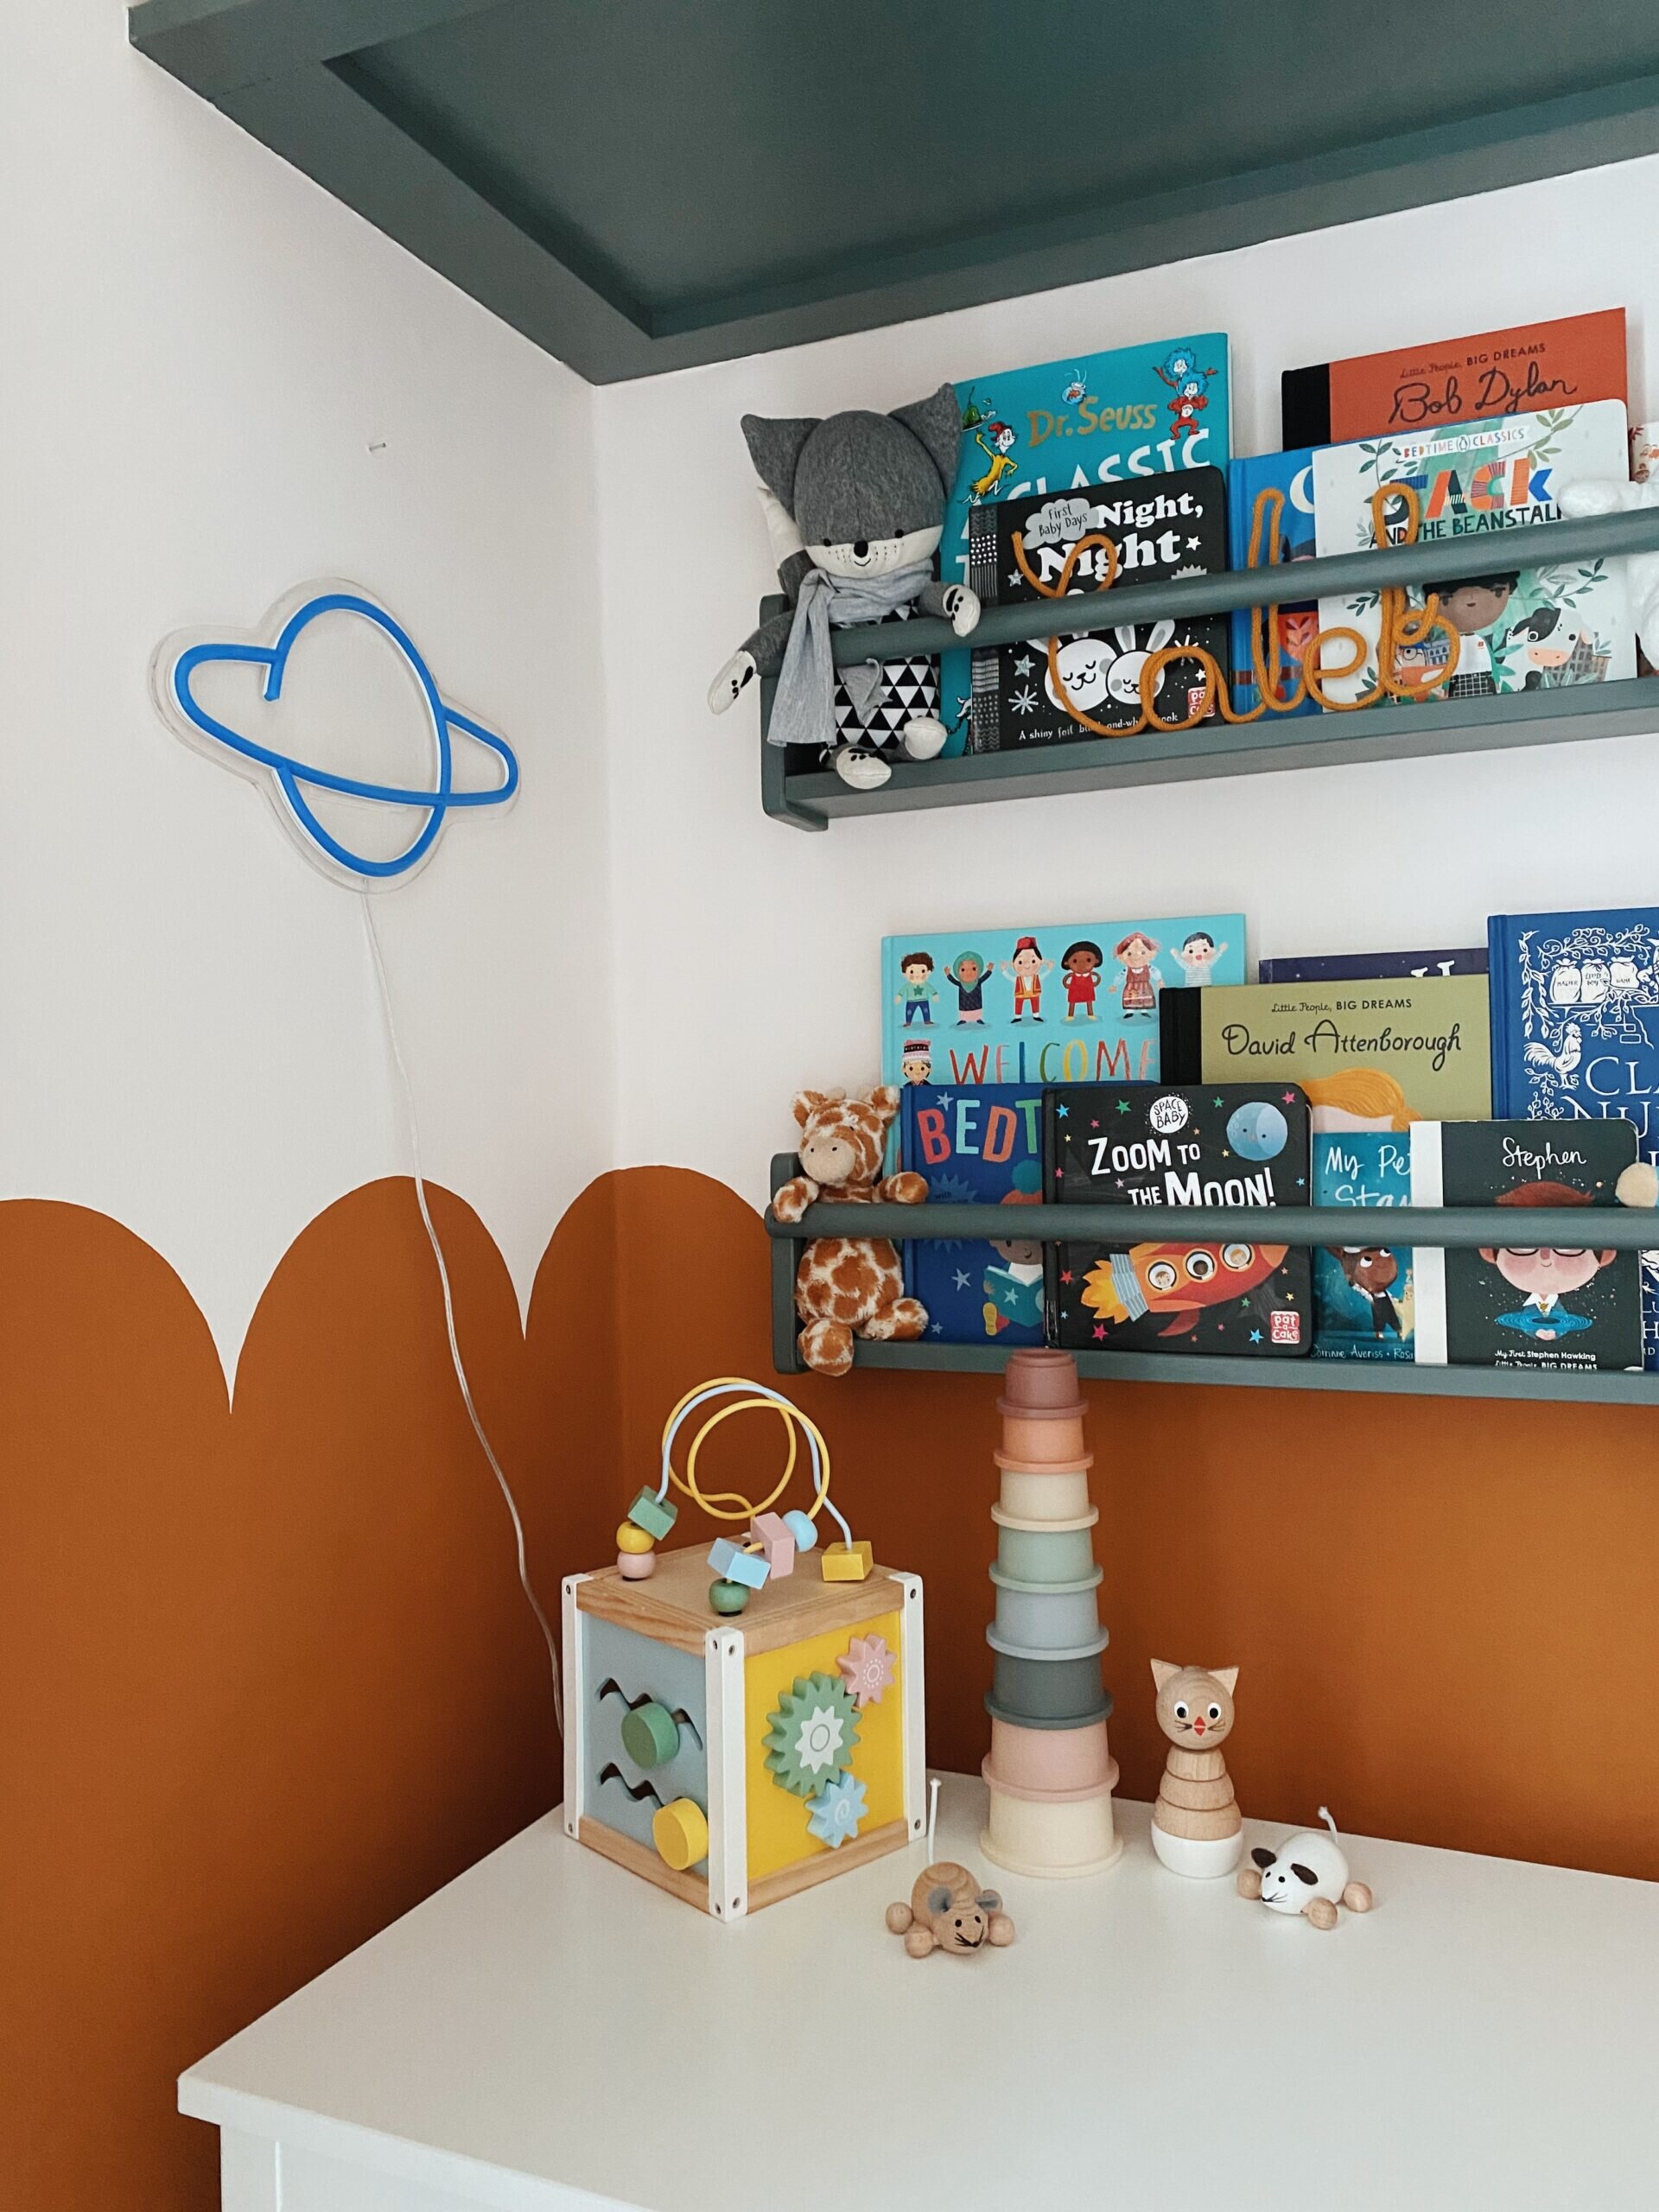
In this room we have an abundance of storage thanks to the previous owner who added fitted wardrobes. We've also kept our day bed, which we used to use if we had people stay over, which has tons of storage underneath. This certainly helps with keeping the room tidy (i.e hiding everything away). But I wanted shelving for books and some of his toys, so we added the IKEA Flisat wall book shelves, and more recently bought the IKEA Flisat book rack to match. Both of which I painted the same colour as the wardrobes.
We've also recently added this shelf with hooks from Great Little Trading Co which has really spruced up an otherwise large and empty wall. It's been nice to hang a couple of things and display some of his wooden toys that are perhaps still a bit old for him.


Furniture
As I mentioned this room has a lot of storage, but I was keen to buy a set of drawers as most of babies clothes need folding rather than hanging. So we just bought a fairly cheap set from IKEA. The day bed (not pictured) is also from IKEA and I'm hoping when he's big enough for his own bed, he'll be able to move into that. For now we have his Shnuggle cot.
Prints
Prints really help bring a room to life and I've changed these a couple of times of the year from ones that were more newborn/nursery focussed, to ones that now represent his personality a bit more and bring character to the room. We bought these ones from Fine Art America and Juniqe (blog post here).

Nursery makeover before and after
Before/After
I think you'll agree that the before and after photos are quite a transformation. Just adding a pop of colour has really brought a whole new feeling to the room. It's so much warmer now, and full of character.

When I compare the set up to when we moved in too, I'm so much more pleased with how we have it now. For example, when we first bought the property the radiator was on the back wall (where the day bed now is), and the owner's daughter had her bed under the window. But this meant you couldn't close the curtains and a bed was a tight squeeze wall to wall. With the radiator on the one long free wall in the room, it proved a nuisance. So we decided to rip up the floorboards, move the pipes, and install a column radiator in anthracite under the window. I say 'we', a friend of ours who has previously worked in plumbing, helped us out. The same friend that did our bathroom renovation actually! The previous owners also had a couple of shelves where our book shelves are now. Sadly they were hanging off the wall when we moved in - something we hadn't spotted when we viewed the property. So they immediately had to come down and we had to use a lot of polyfiller.
Aside from that, not a lot else has been done - we painted the cupboards, we laid a new carpet, and now we've painted the walls.

What's next?
Once he's grown out of his cot, we hope he'll transition to the day bed (on the opposite wall, not pictured). That will then free up some space in his room, and I'll likely move his drawers to sit under the prints, and create a little reading corner under his book shelves. A tipi tent, some cushions and his book rack would be cute. But until then I'm really pleased with how much life this room now has from just a couple of changes.
Items:
Book shelves (painted) - IKEA Flisat
Book rack (painted) - IKEA Flisat
Paint - Lick Orange 02
Cot - Shnuggle
Shelf with hooks - Great Little Trading Co
Prints - Fine Art America
Related Posts