Kitchen Before & After
 This post has been a long time coming. We've actually been living with our new and improved kitchen for a while now. Luckily in this room we didn't need to do anywhere near as much work as in our bedroom or bathroom.Luckily when we bought the house we were happy with the style of the kitchen. It's an IKEA white wooden kitchen with chunky wooden work top. It's not brand new but it's in good condition. It has a built in dishwasher, Belfast sink, under sink bins and a gas hob/electric oven. Everything has been nicely planned, and all the things you'd like to hide, are tucked away behind cupboard doors.
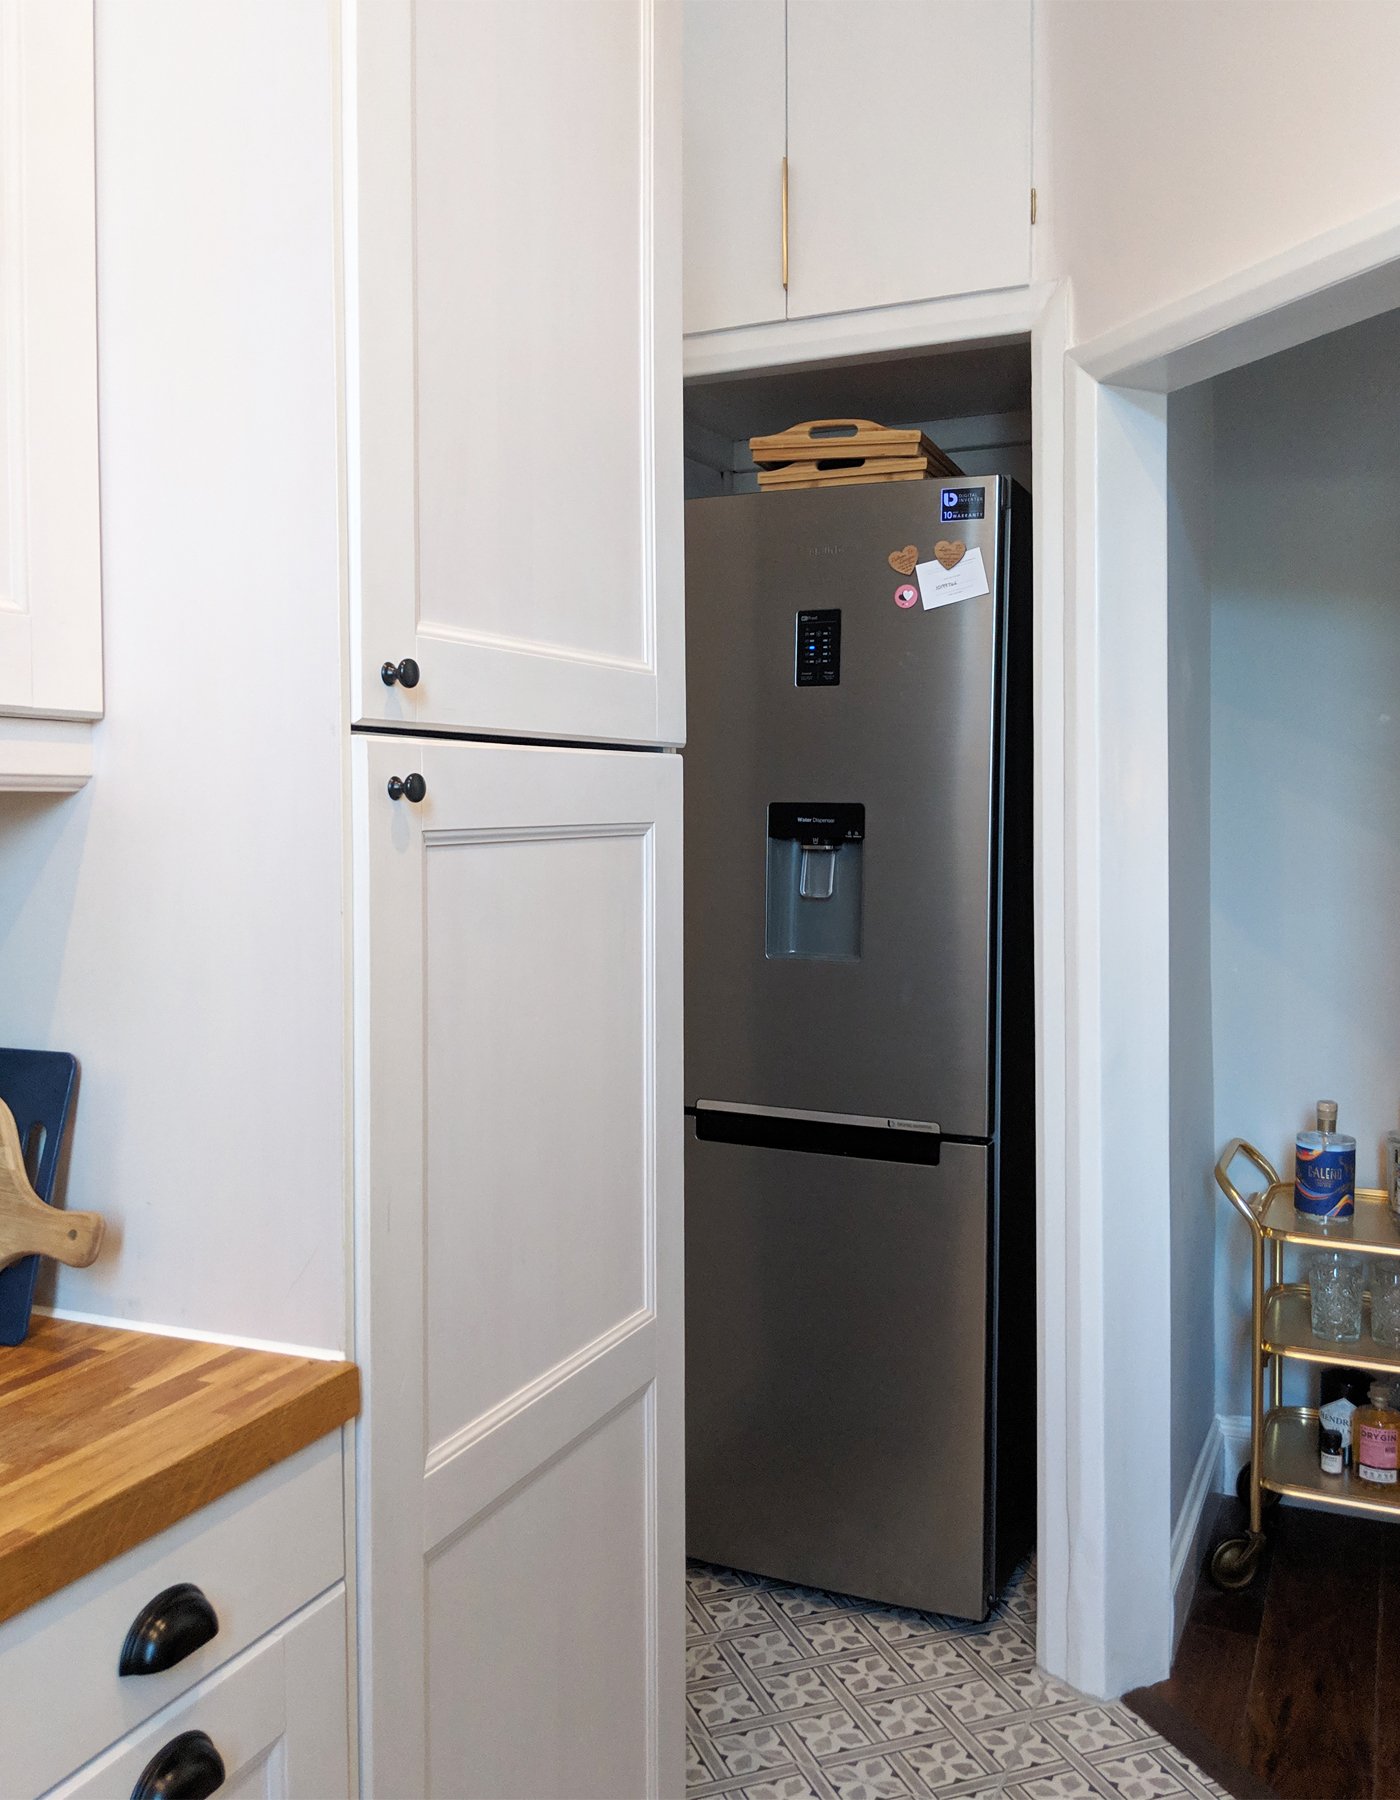 Although it might not look it, this kitchen is much bigger than our last with lots of storage space. Next to the oven there's a fantastic pantry style cupboard, with drawers that pull out to access all of our dried food easily. Plus there's space in the top half for a microwave.The built in dish washer has also been a god send. We've never had one before, but I'm a complete convert now. It's only a small one, but it's perfect for the two of us, and keeps the kitchen looking clean at all times.This room was therefore left until last to revamp as we knew it would be a fairly easy job. That's not to say it wasn't still a little messy though.
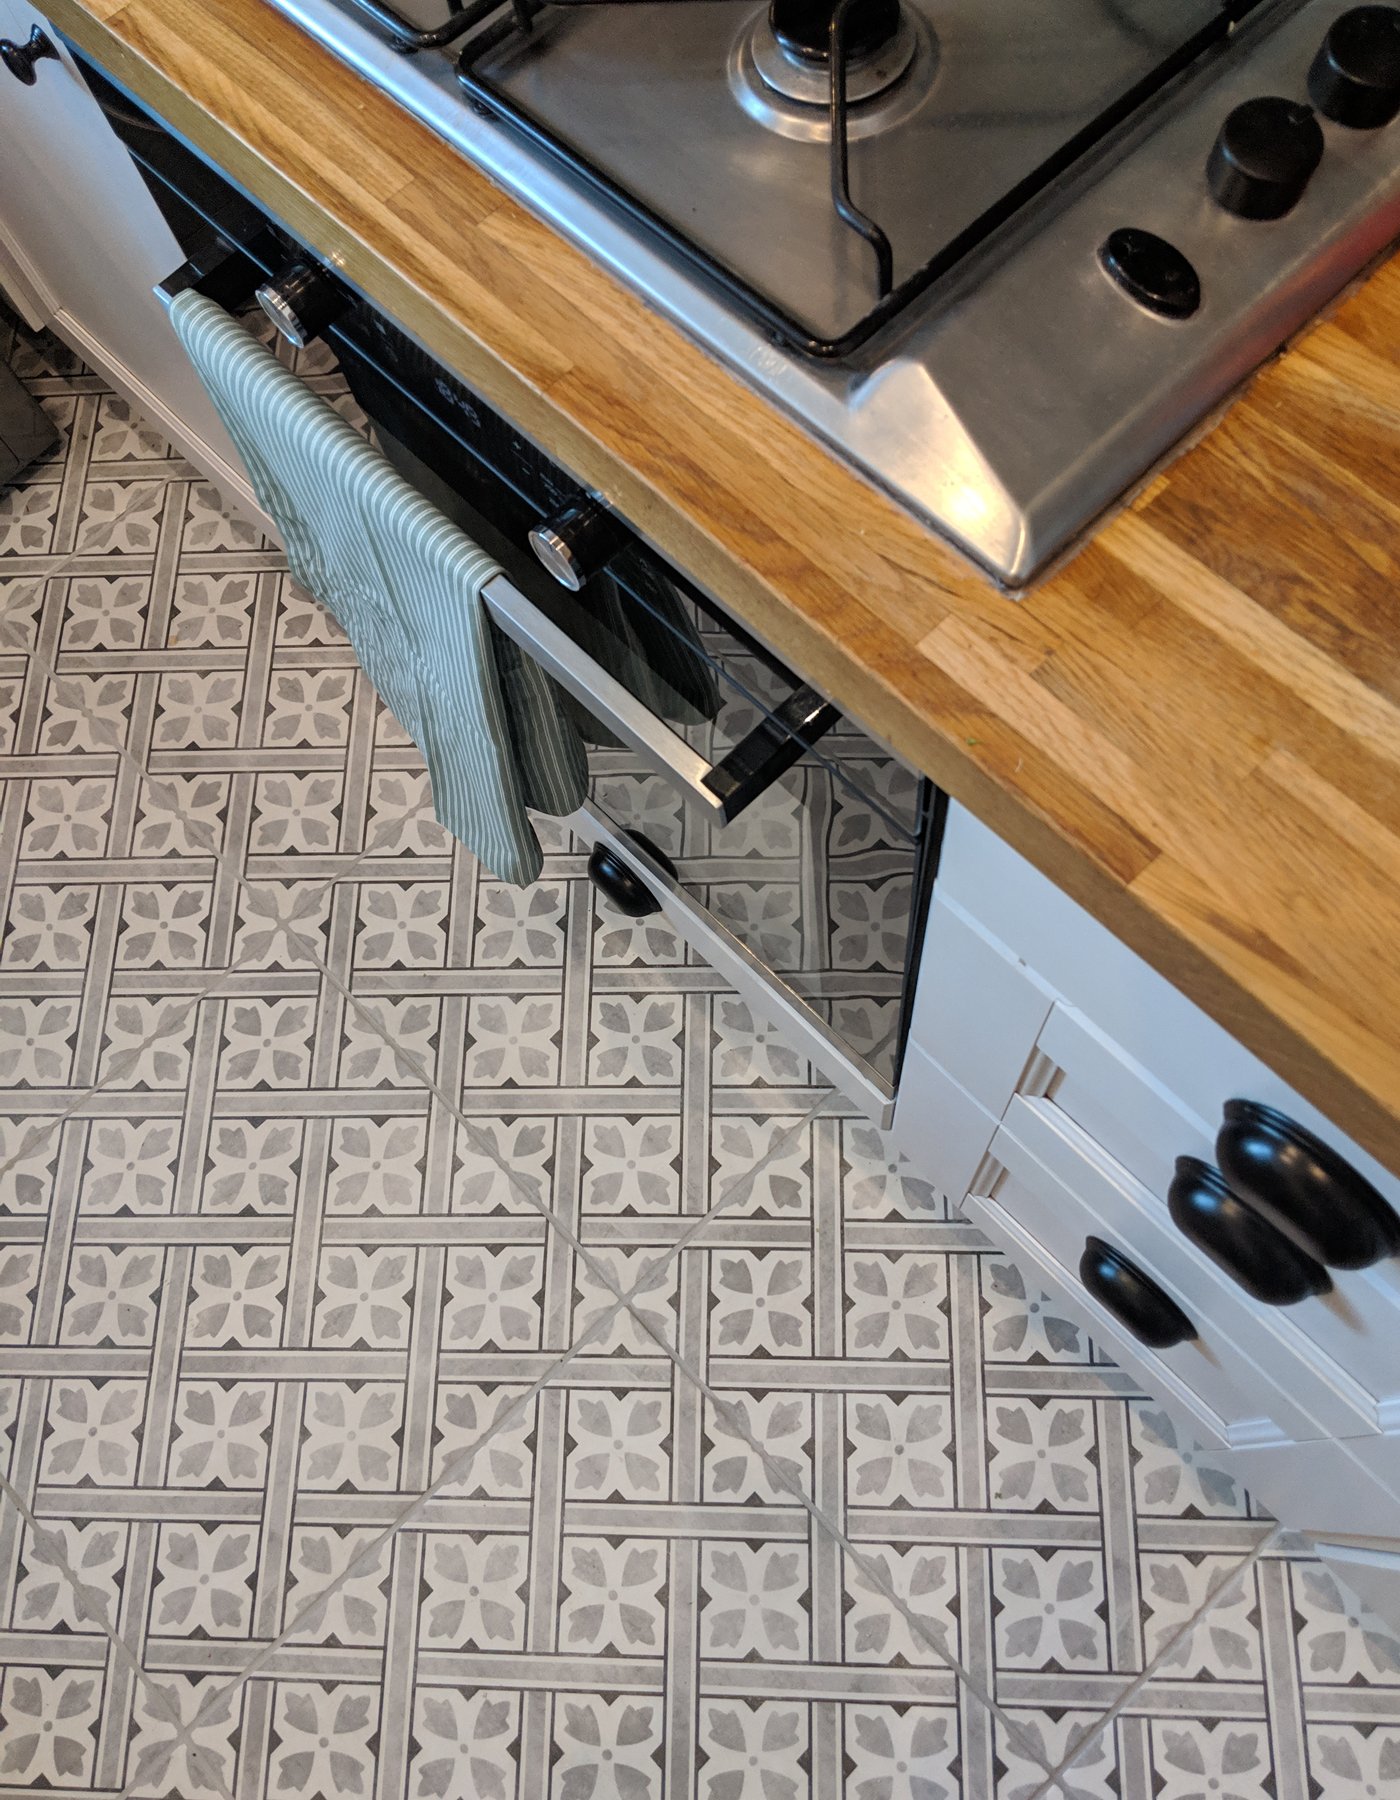 Our friend that has helped us throughout our renovation (namely installing our new bathroom and repositioning all of our radiators - not an easy task), offered to install new floor tiles for us in the kitchen. There was nothing wrong as such with the tiles before, but they were dark black slate tiles, and for such a small space, they made it incredibly dark. There was some light staining to some of the tiles around the washing machine too, so we wonder if the previous owners potentially had a flood at some point.Either way, I knew I wanted to freshen the kitchen up with lighter coloured tiles to make the overall room much brighter.In this room we made the following changes:
- New floor tiles
- Fresh paint on walls and woodwork
- Re-grouted wall tiles
- New brass sockets and switches
- New sink tap
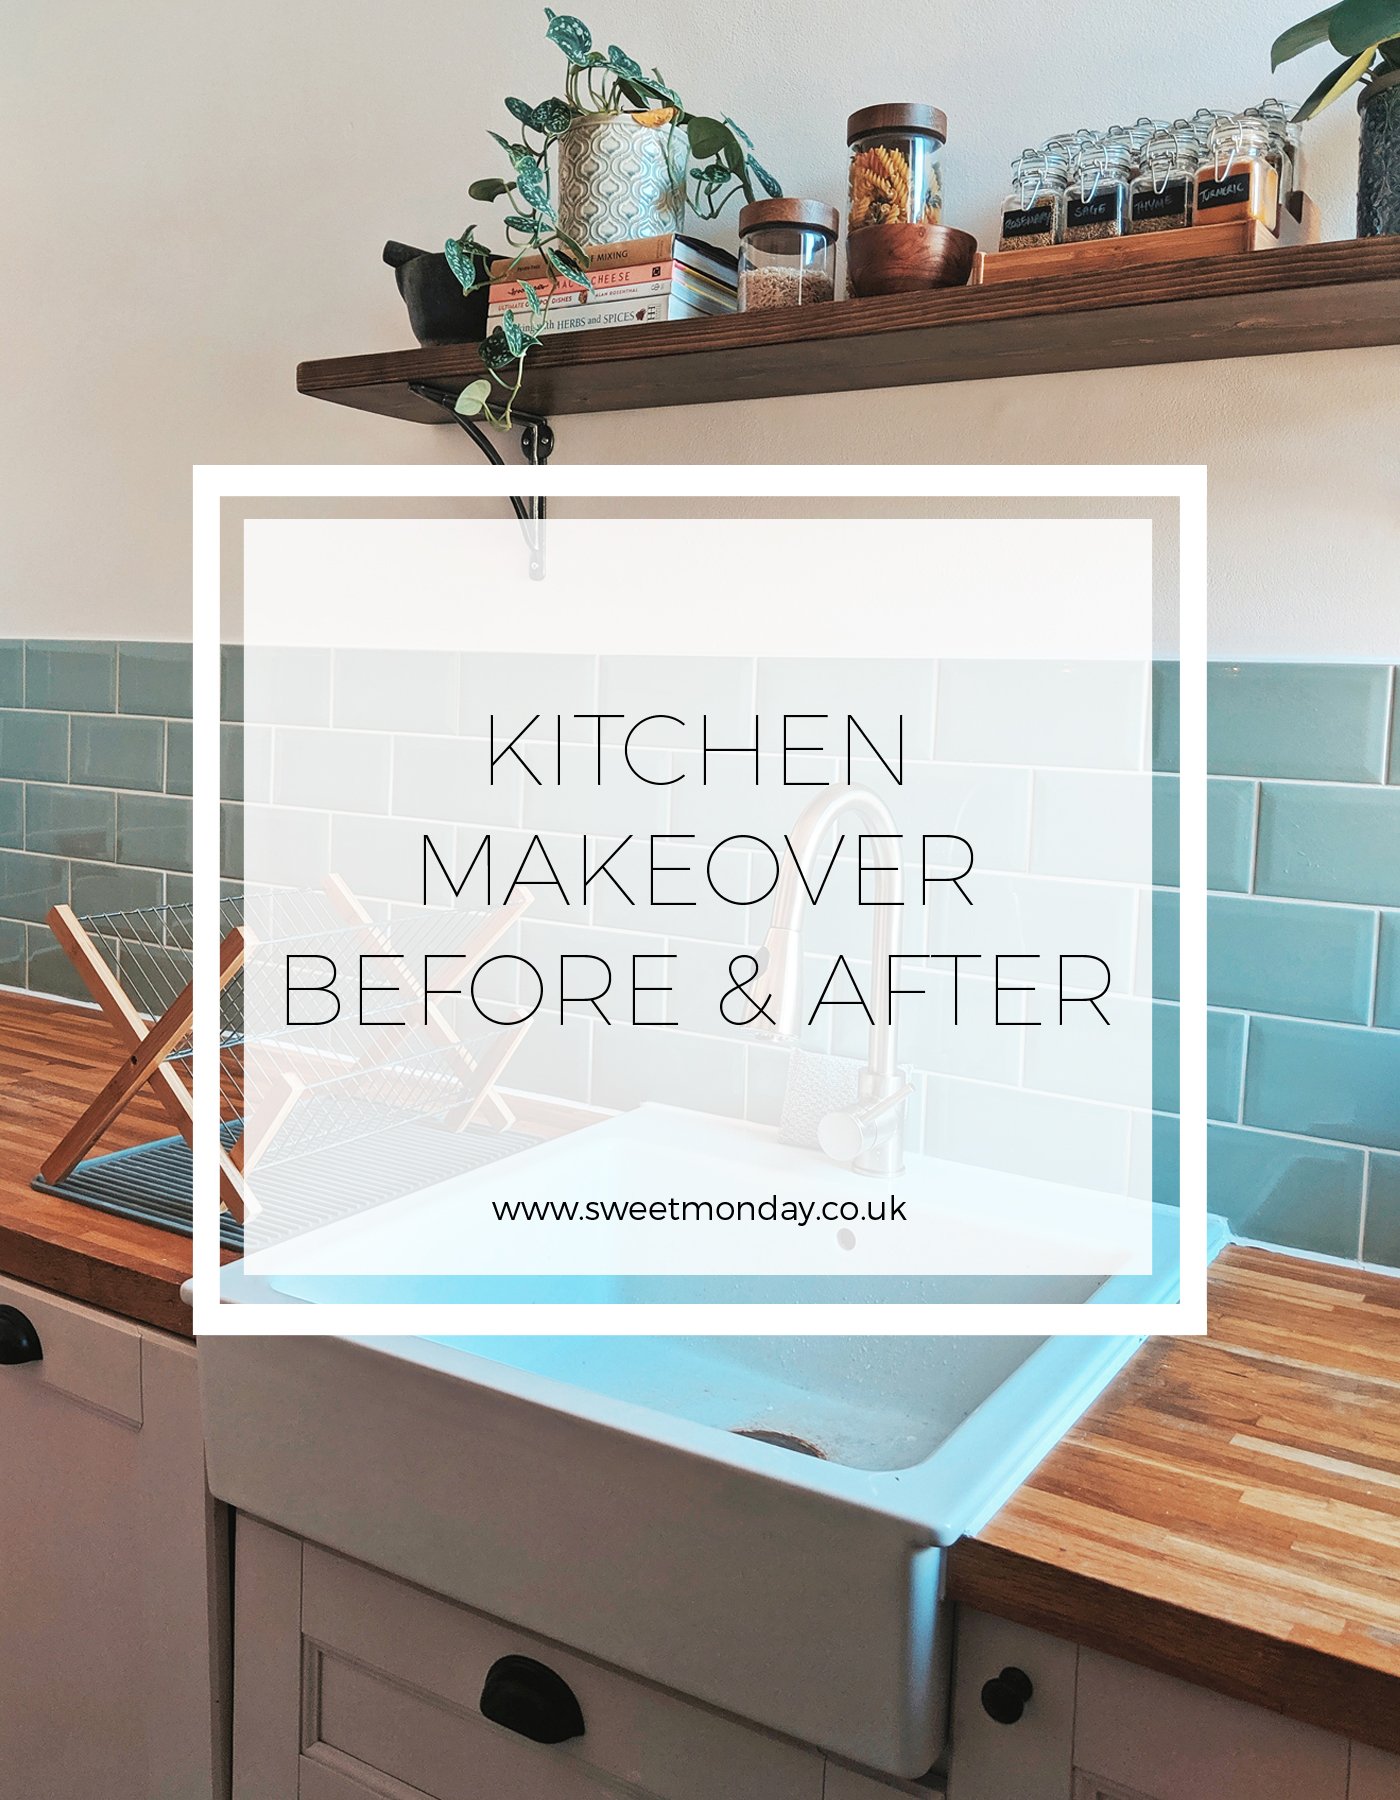
- Added a shelf above sink
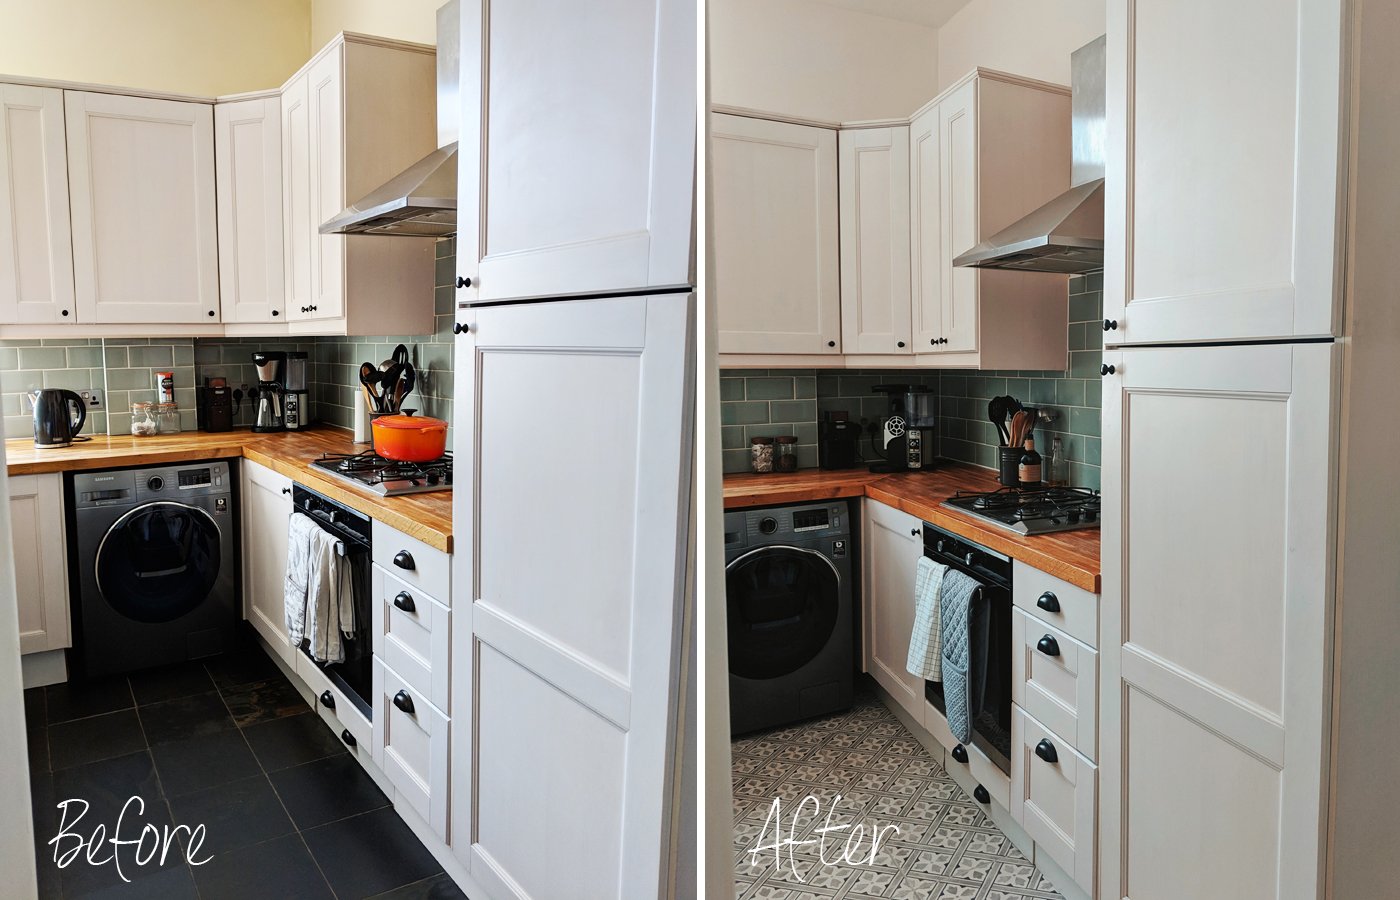
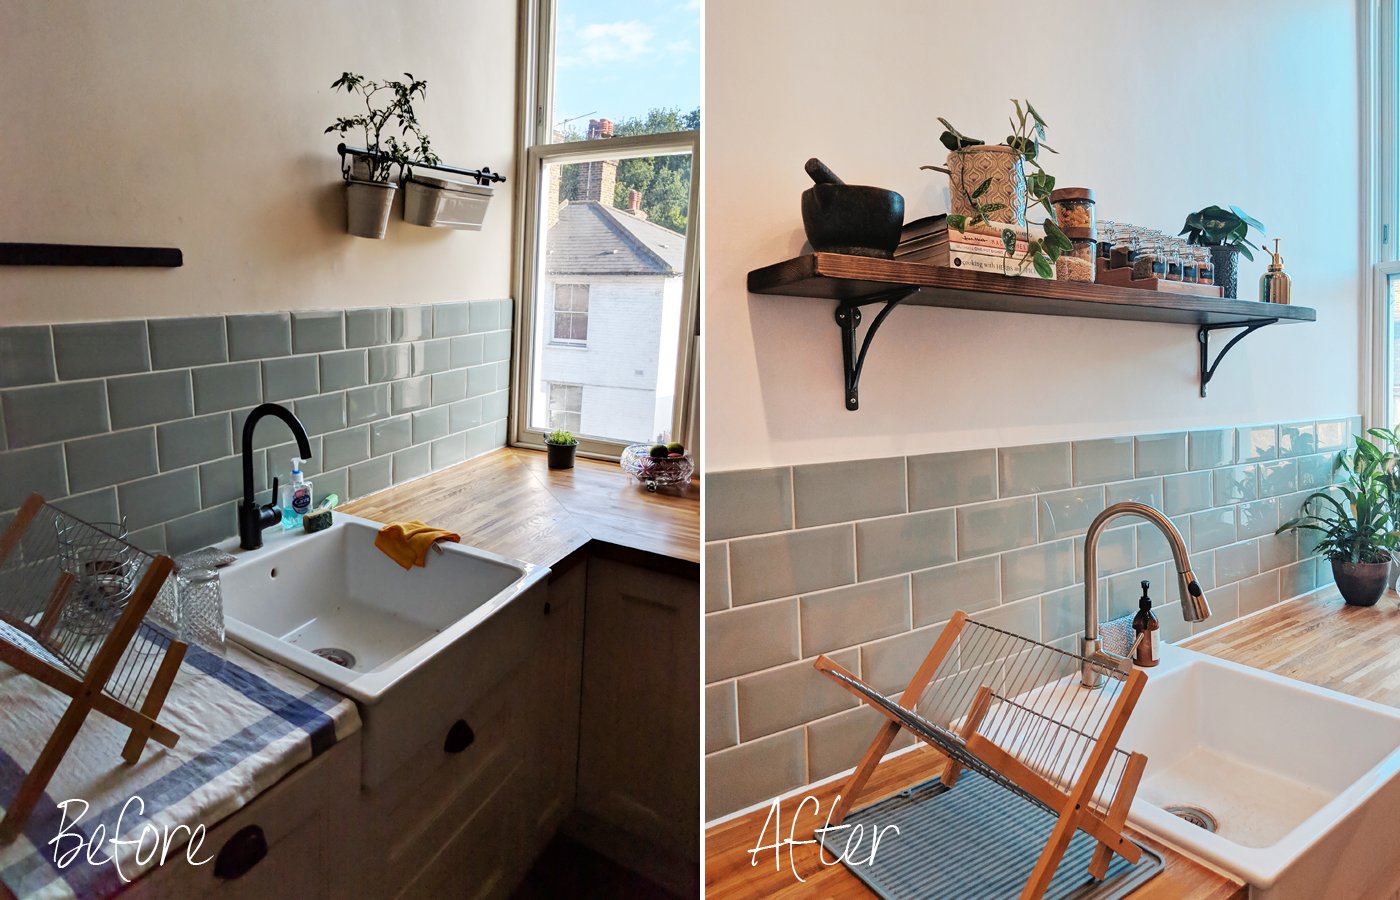 Floor and wall tilesAs we were about to make a start on laying our new tiles, our friend spotted that the grout around the wall tiles was in dire need of touching up. The previous owners had also not added any trim to the tiles, meaning mountains of dust would collect in the crevice behind the top row of tiles.He set out by removing the top row, being careful not to break any (luckily the owners before us had left a few spare anyway), and had to relay them with tile trim behind. This job was fairly easy, mainly I think because the grout/adhesive they had previously used was so bad that the tiles came away from the wall with little force.Once that was tided up, he was able to lay our new floor tiles. These are Laura Ashley and were fairly large, making them very easy to line up and lay.I'm so pleased with how they've turned out and how they've instantly brightened up the space.
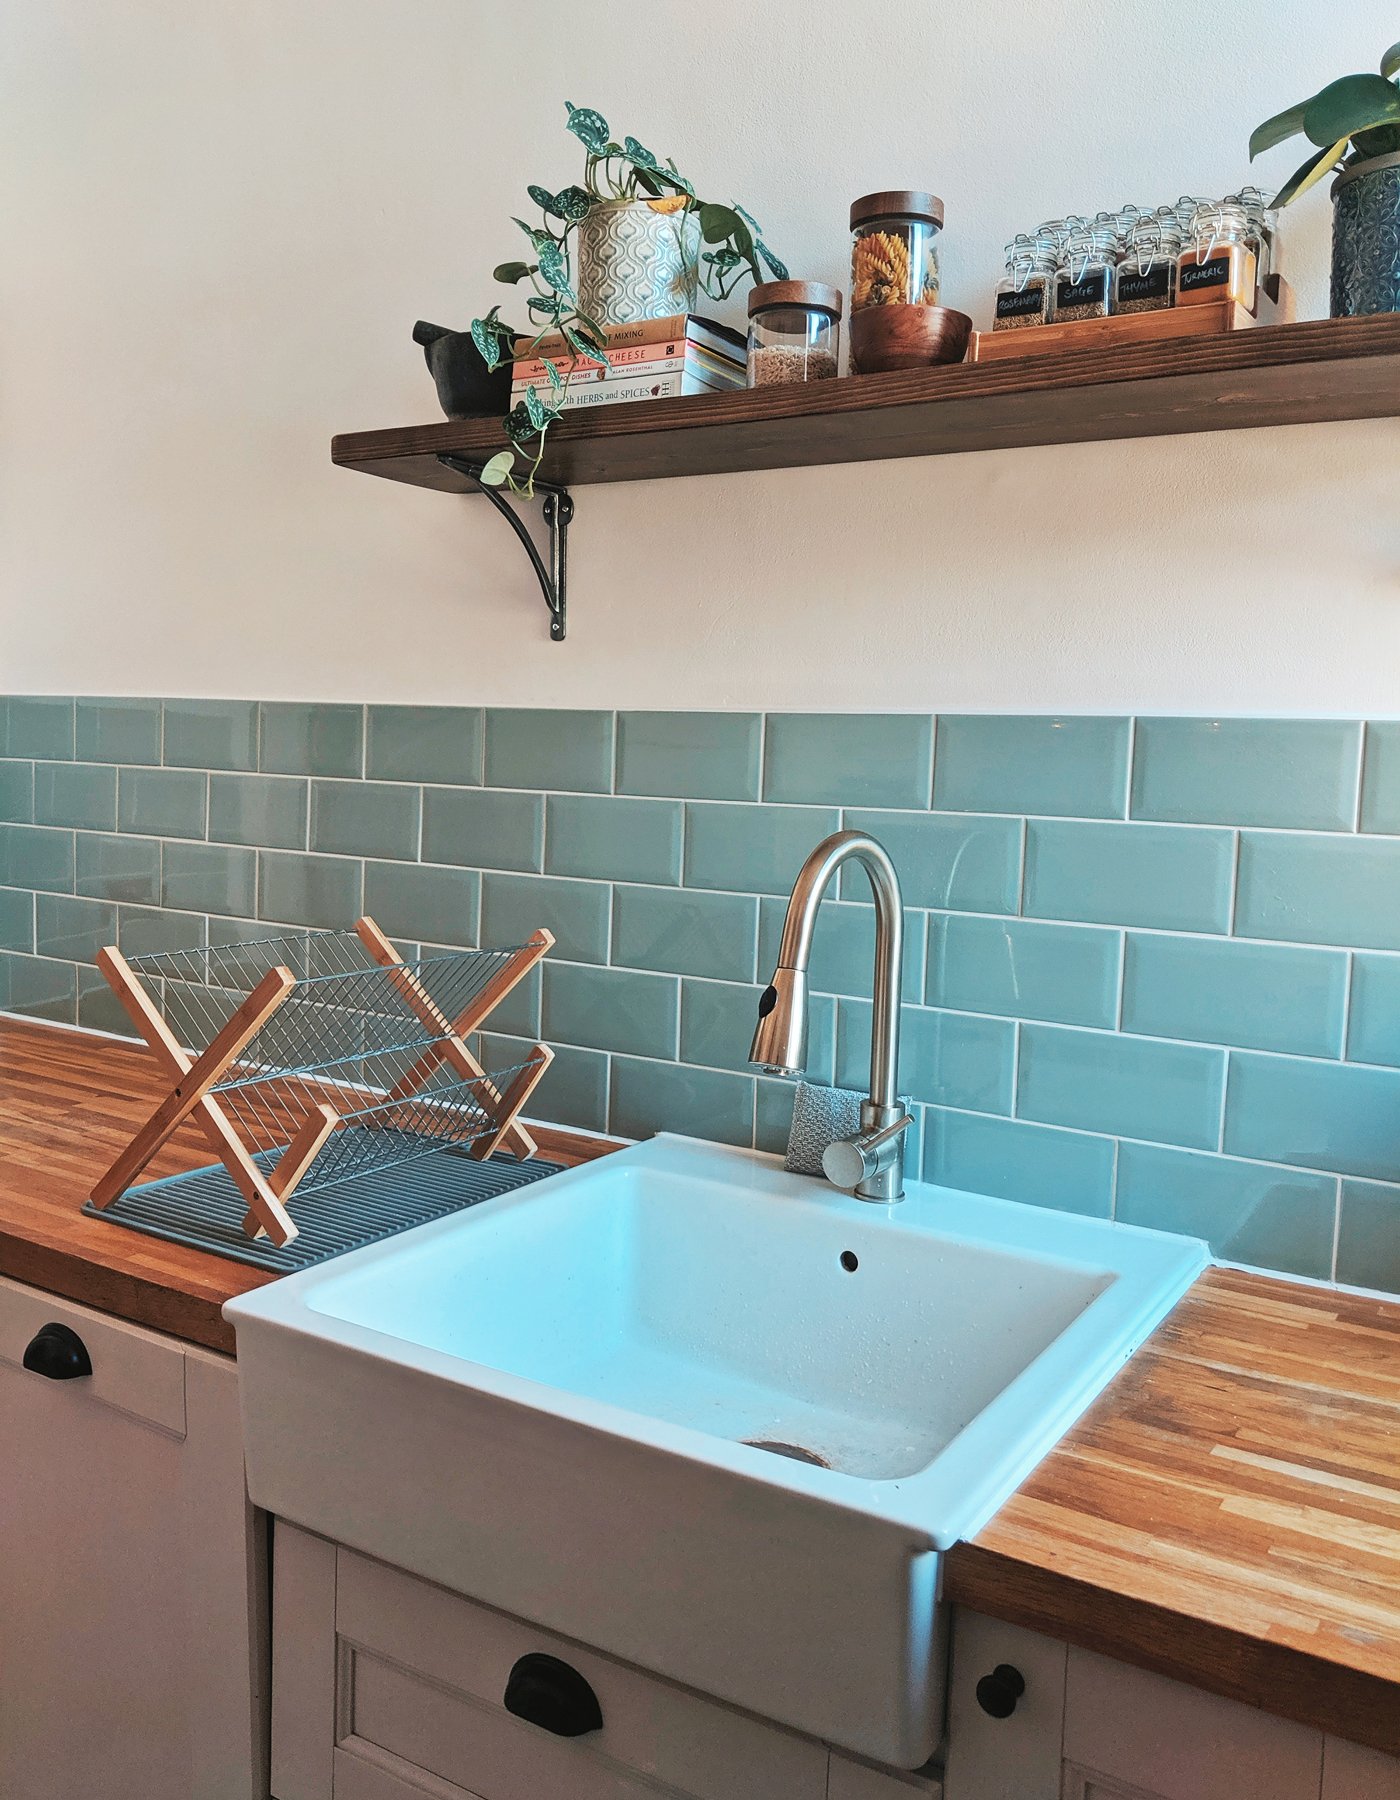 Sink tapWe had a lovely wrought iron sink tap before, but it began to rust around the base and we noticed a constant drip form. At first we attempted to fix it rather than replace it, but then we found more rust inside the tap and no matter how hard we tried to reattach it, it would never tighten.Instead, we bought a brand new tap that has a pull down mechanism and spray function, making it perfect for a Belfast or Butler sink (as they're notoriously hard to keep clean).
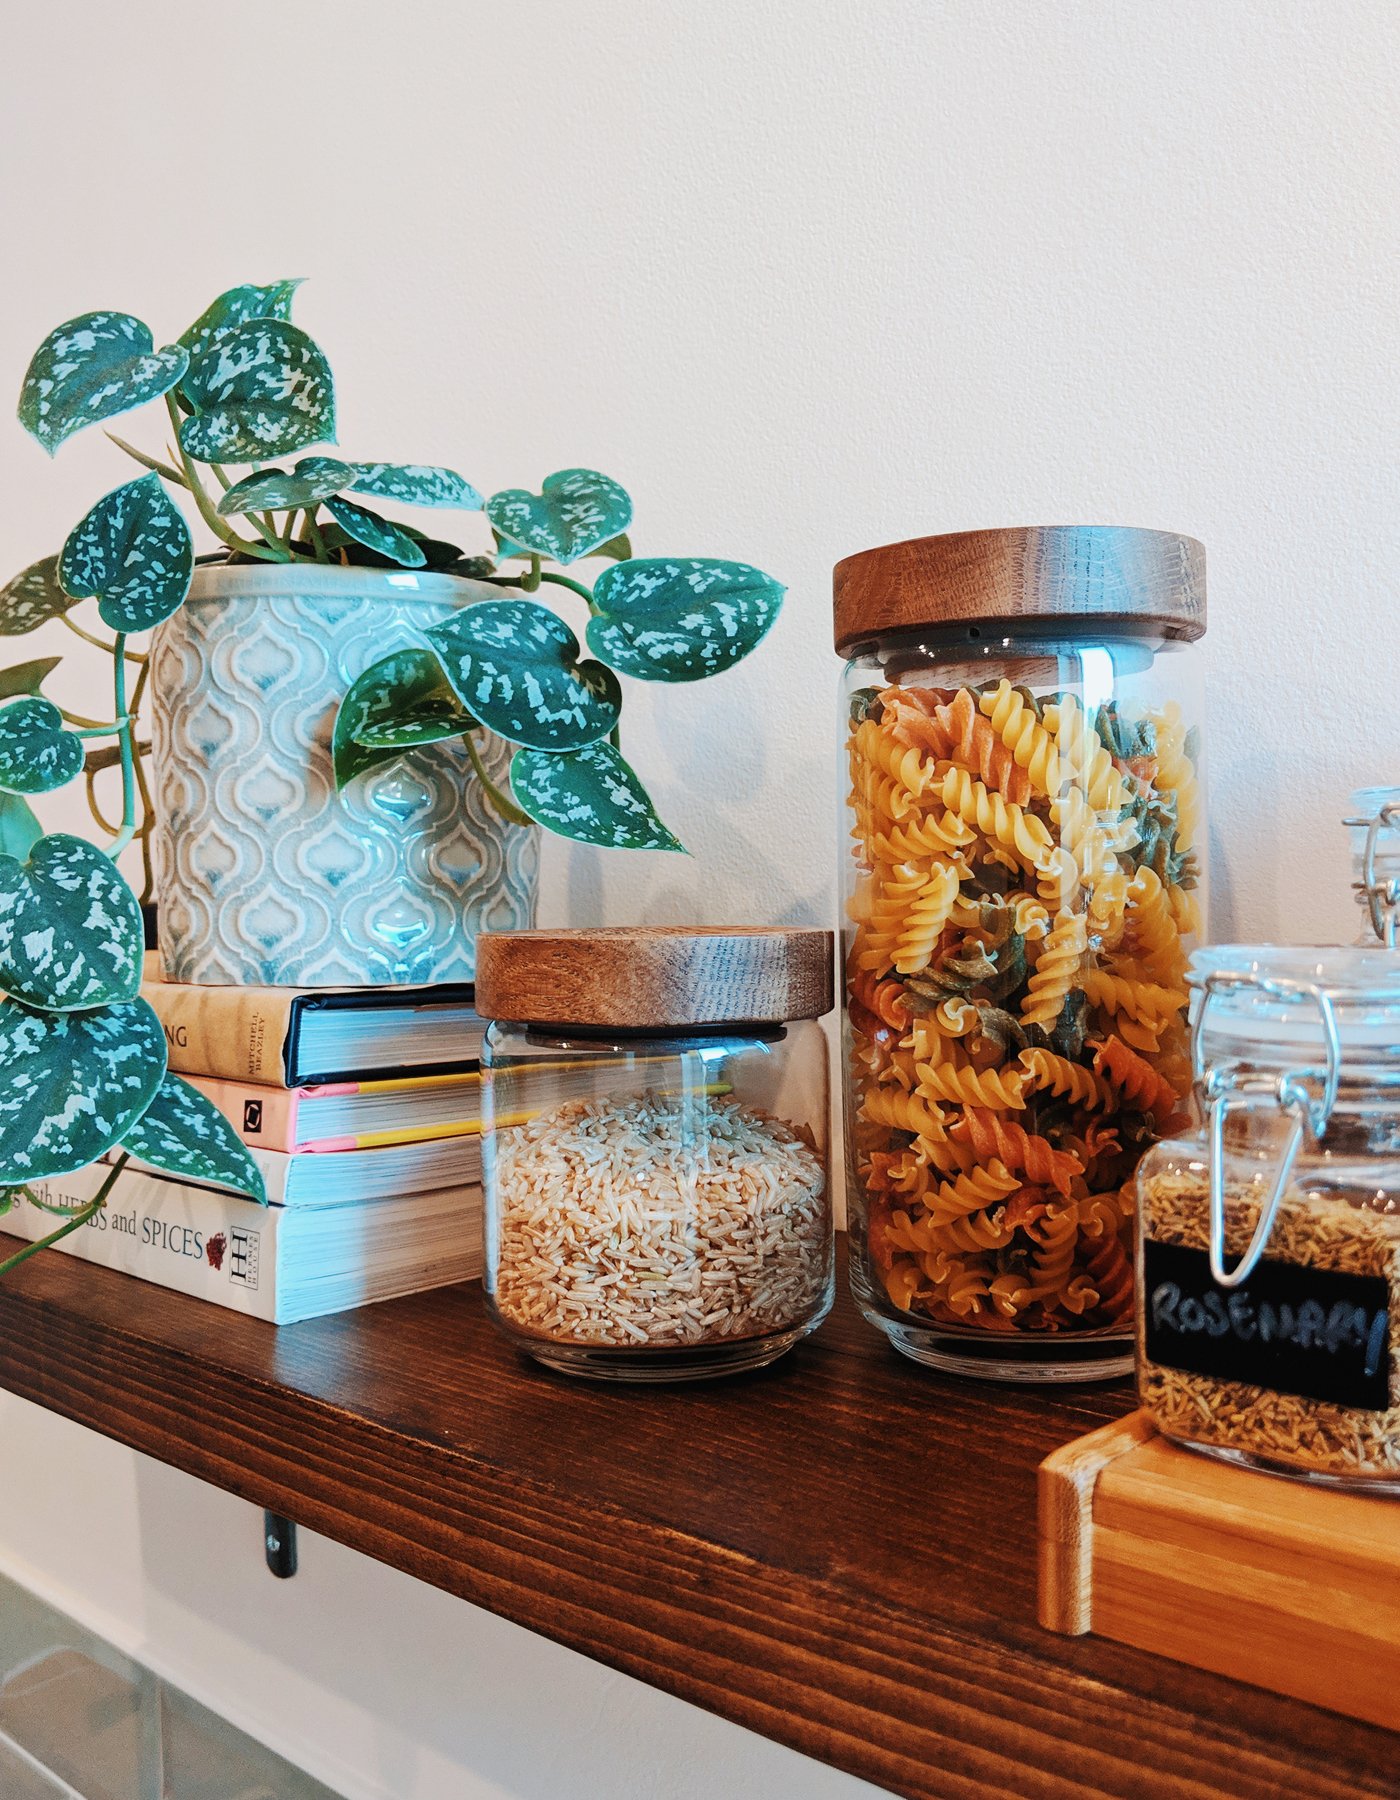
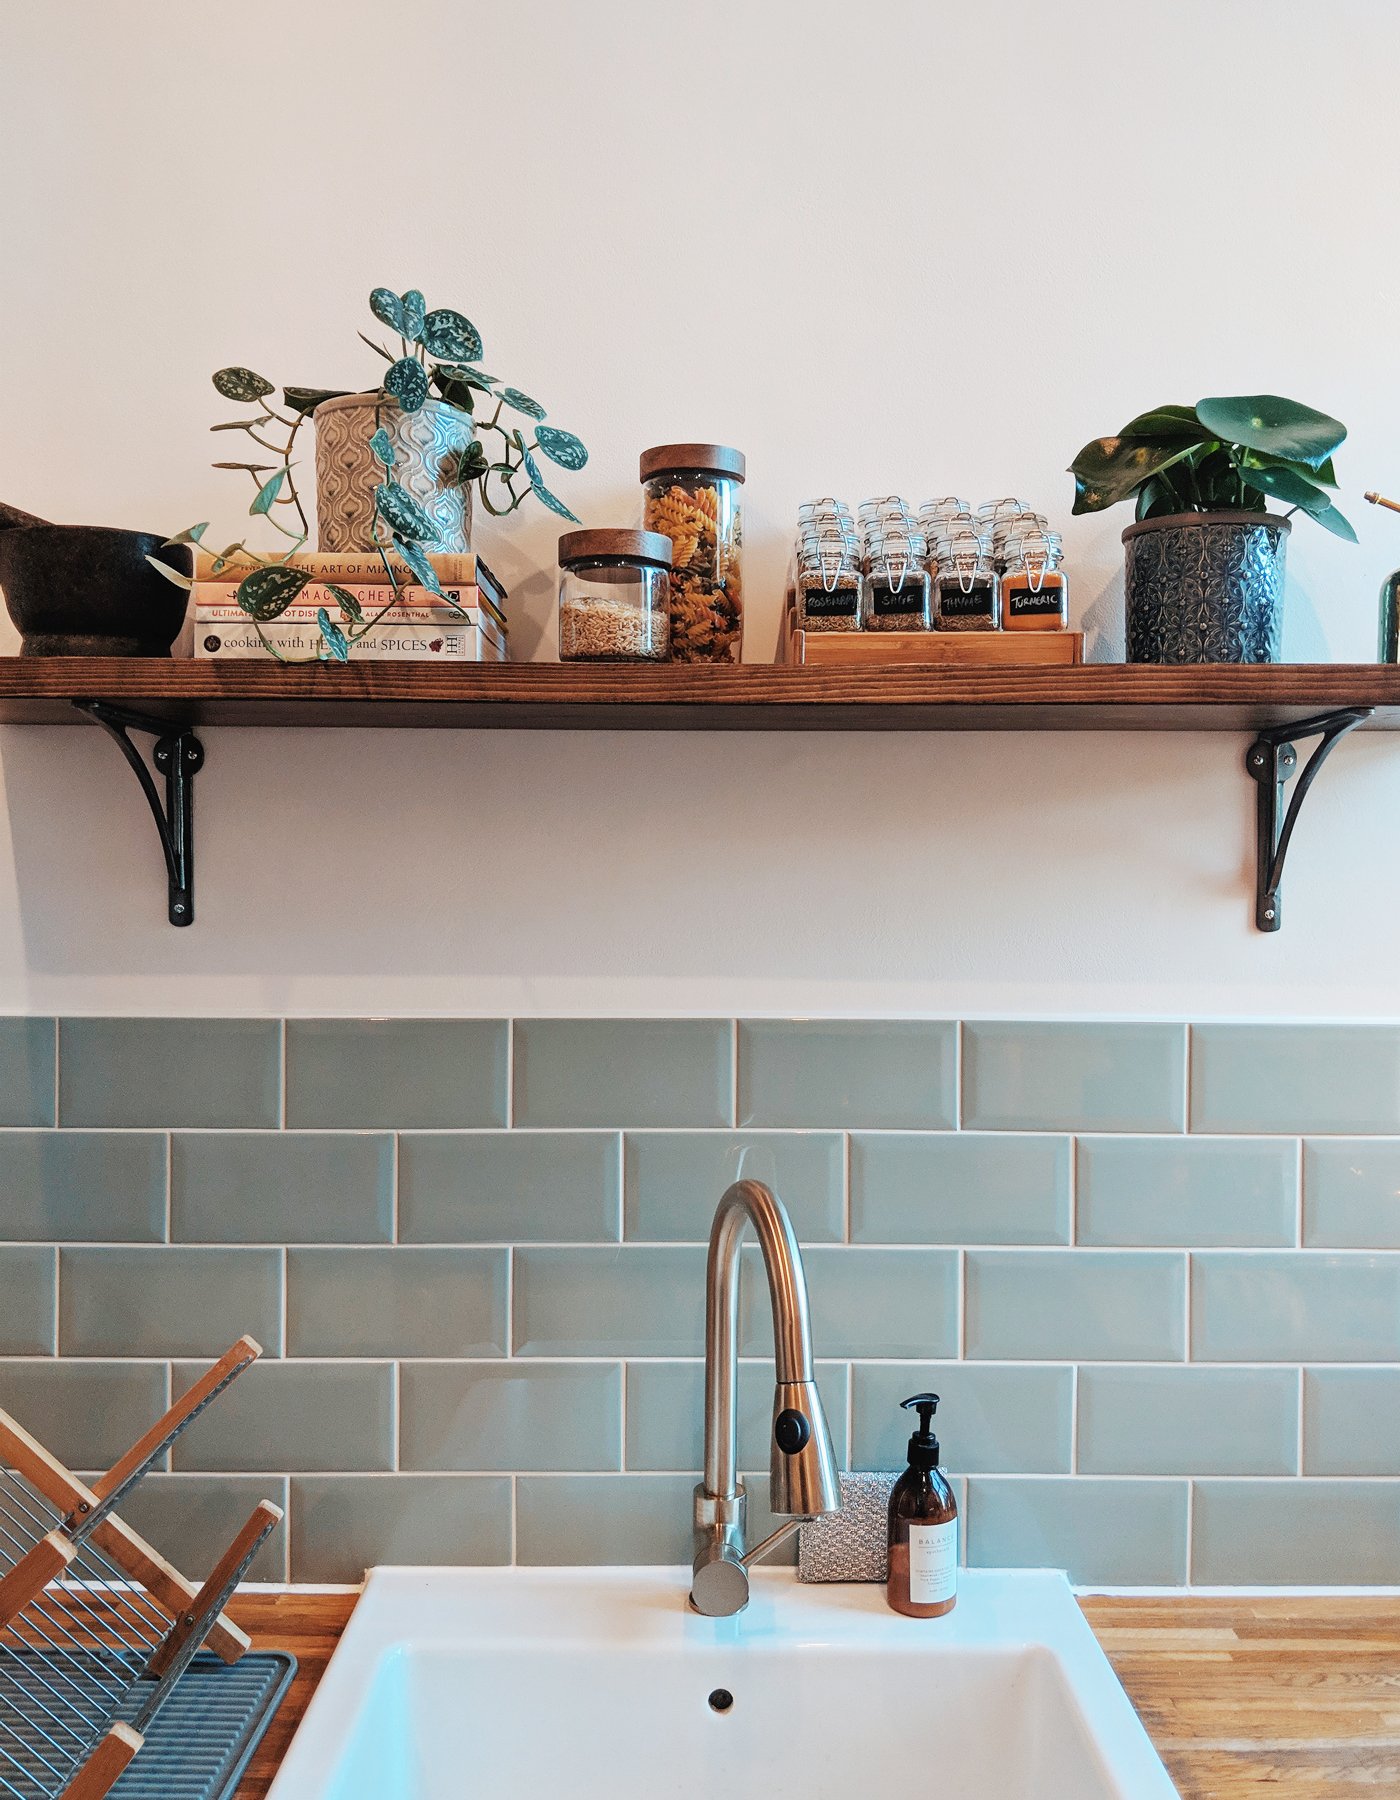 ShelvingThe wall behind the sink is very large and previously the owners had had magnetic strips attached, which they hung their kitchen knives and other bits from. For us this didn't make sense. Why would you have kitchen knives hanging over a sink? Nowhere near the oven or work tops. We already had a knife block, so this was removed immediately.There were also some questionable hanging planters, presumably for herbs, however the way in which they were hung, so close to the wall, meant it was near impossible to get any plants in and out of them. This too was inevitably removed, but both of these elements left holes in the walls that need to be filled and sanded.This then meant that we had to paint the walls before assembling anything new. For this expansive space, we decided to just hang one simple industrial style, wooden shelf. It's actually from the same company that we bought our bathroom shelving from.We only add one shelf because any more above it would be too difficult to reach. Even this shelf is a stretch for me!I got the idea of the spice rack after seeing Tatjanas incredible spices. Ours isn't quite as impressive, but I love it all the same.
 Where to buyFind a full list of where we bought everything below. If you have any questions about anything else, let me know.
- Floor tiles - Laura Ashley
- Shelf - Etsy
- Spice rack - Amazon
- Spice jars - Amazon
- Sink tap - Victorian Plumbing
- Dish rack - Amazon
- Draining board - Amazon
- Glass jars - John Lewis
- Spray bottle - Made.com
- Fridge - AO